12 Tips To Prevent Mold in a Campervan (and Musty Smells)
Discovering that mold is growing in your campervan is one of the biggest nightmares of van life. Not only is mold challenging to eradicate, but mold also weakens the wood structure and harms your health when inhaled.
During our van build and 3+ years of travel, we took great pains to prevent mold growth in our campervan. And we’ve learned so much from our successes (and mistakes) that we want to share this information here.

So, in this post, we share our top 12 tips to prevent mold in a campervan. Specifically, we give:
- Three tips to prevent mildew during the van build and
- Seven tips to prevent mold during your van travels

Disclosure: As an Amazon Associate, this site earns from qualifying purchases. Though we may earn a commission, the price you pay always remains the same.
1. Use Anti-Mold Spray
Because mold loves to grow on wood, treat your raw wood with a generous layer of anti-mold solution. Then, let the wood dry for a few hours before installing the wood in your camper van.
This spray can be used on plywood and standard wood beams.
Mold spray prevents mold growth by killing the mold spores and roots before they can grow and take hold in the wood.
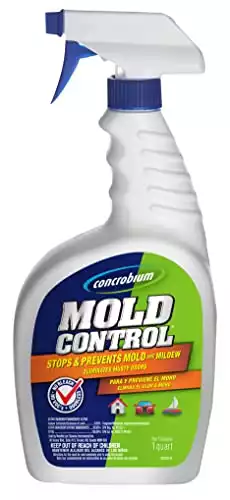
Kills mold and mildew and prevents regrowth. Contains no harmful chemicals or fumes. Just spray and allow to dry. We used this spray on our subfloor, walls, and furniture.
Treating the wood with Concrobium mold spray is so quick and easy; we used this anti-mold spray on all the wood for our:
- Walls
- Ceiling
- Sub-floor
- Furring strips
- Cabinets
- Bed frame
Note: We do not recommend using the anti-mold spray on wood countertops since this countertop will likely come into contact with food.
2. Use Anti-Mold Primer
If you are painting some of your wood pieces, like your cabinets and bed frame, using a primer paint that doubles as a mold killer can add extra protection against mold growth.
During our campervan conversion, we added two layers of Zinsser mold-killing primer before adding the topmost paint layer.
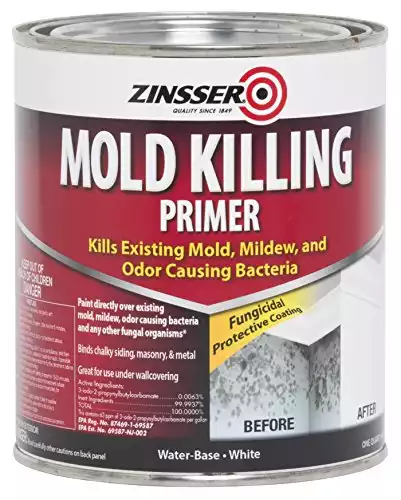
Kills existing mold and mildew and prevents their regrowth. Best used after Concrobium mold spray. Apply two layers of primer onto the subfloor, walls, and furniture.
Although you could add mold-killing primer to every piece of wood in your van, we only painted primer onto all front-facing wood pieces, like our walls, cabinet fronts, and bed frame panels.
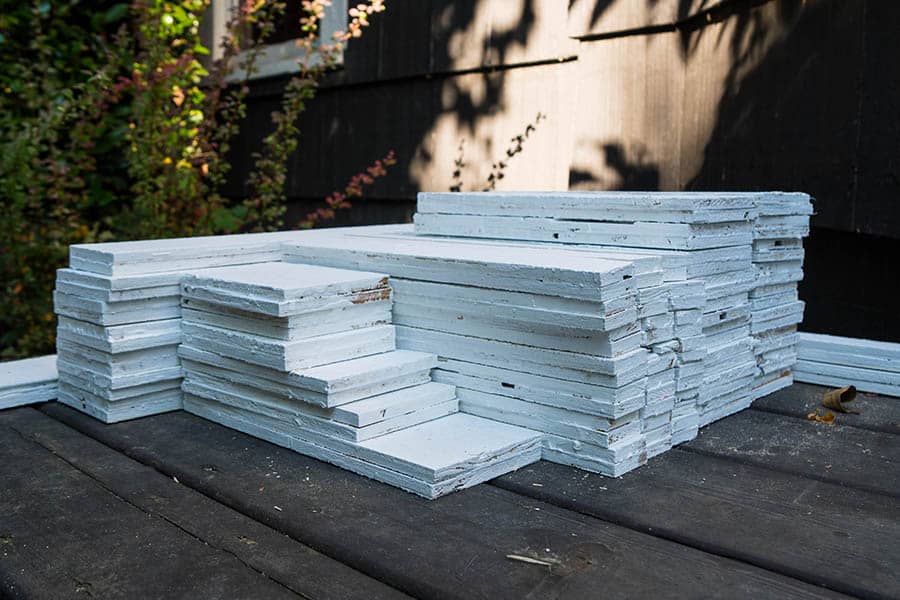
We added Zinsser primer to our DIY furring strips in the picture below.
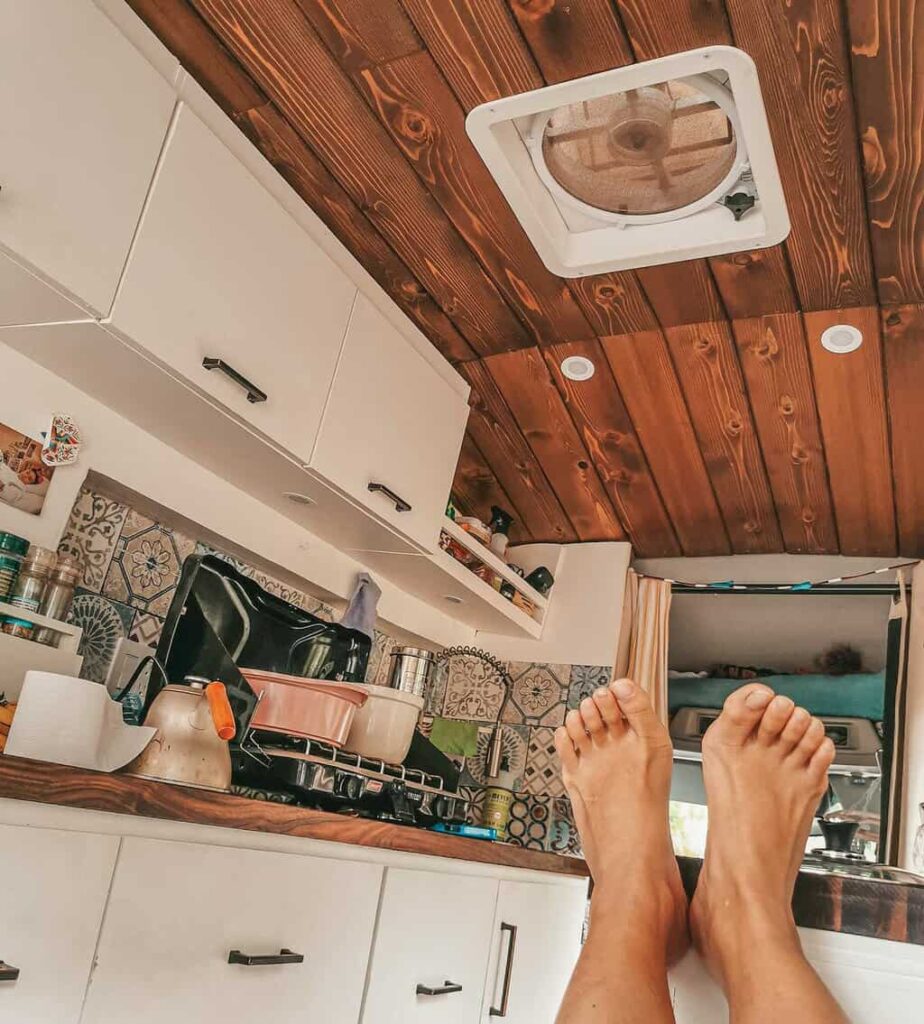
3. Install a Ventilation Fan
Stale and stagnant air promotes mold growth. And campervans that do not have a solution to circulate outside air into the vehicle effectively will experience mold in the future.
Installing a vent fan is the best and most cost-effective way to promote air circulation in a camper. You can expel stale, humid air with a push of a button and bring in fresh, clean air in seconds.
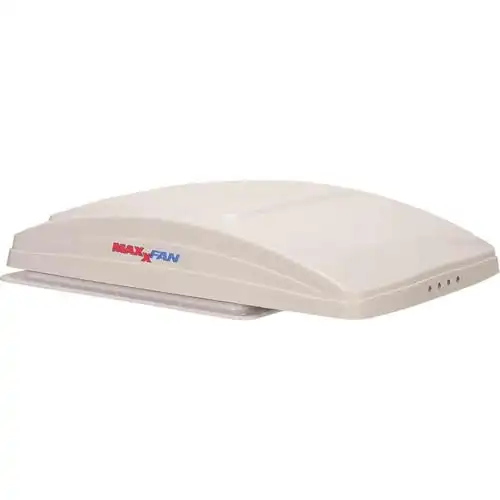
A high-quality vent fan is a top van life essential. It exhausts stale, greasy, & musty air and promotes fresh air flow into the van. The Maxxfan's unique rain cover allows you to continue operating the fan even when it's raining hard outside.
Learn more: Why we love our Maxxair vent fan.
Not only does a vent fan help to prevent mold growth, but it also keeps your van smelling clean and fresh by expelling old, musty air.
When our van is parked, our vent fan is turned on virtually the entire time. Good ventilation is that important to us.
Don’t know how to install a fan? Read our vent fan installation guide.

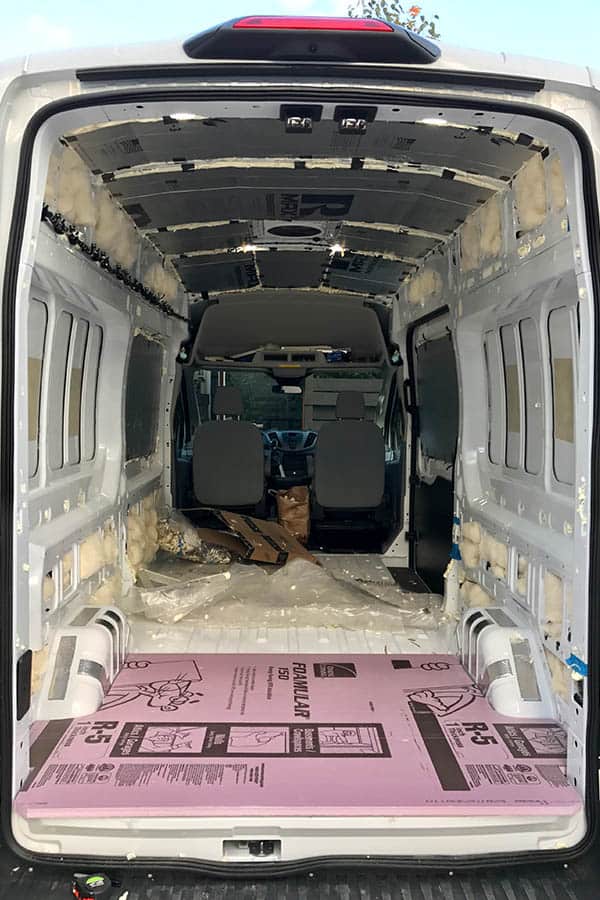
4. Select Mold-Resistant Insulation Materials
The type of material you use to insulate your campervan will dictate whether or not mold grows underneath your floorboards and behind your van’s walls and ceiling.
Avoid installing insulation that tends to absorb moisture, ultimately promoting mold growth.
These types of materials include:
- Fiberglass batts
- Denim batts
Instead, focus on insulation materials that either wick away moisture or do not absorb moisture altogether. These materials include:
- Sheep’s wool
- 3M Thinsulate
- Polyiso & XPS foam boards
- Open-cell spray foam
For more information, read our campervan insulation post.
5. Avoid Cheap Propane Heaters
Propane heaters are a popular way to heat the interior of a campervan. However, most propane heaters, like the Mr. Buddy heater, create moisture that is released into the van.
This is because the exhaust from the propane combustion process, which includes moisture, is expelled inside the van.
And this moisture can get into your fabrics and insulation and help breed mold.
“But how else can you heat a campervan?”
If you want a heating solution for your van, consider the following options that emit DRY HEAT inside the camper. The options include:
- Espar Heater (Diesel)
- Webasto Heater (Gasoline)
- Propex (Propane)
These heaters do not emit moisture into the camper because they exhaust the waste fuel and moisture outside the van.
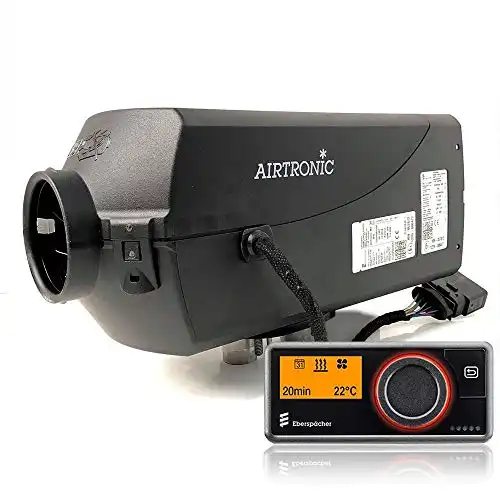
We can't rave enough about our Espar heater. It keeps our van toasty during the frigid winter months and regularily works above 14,000 feet.
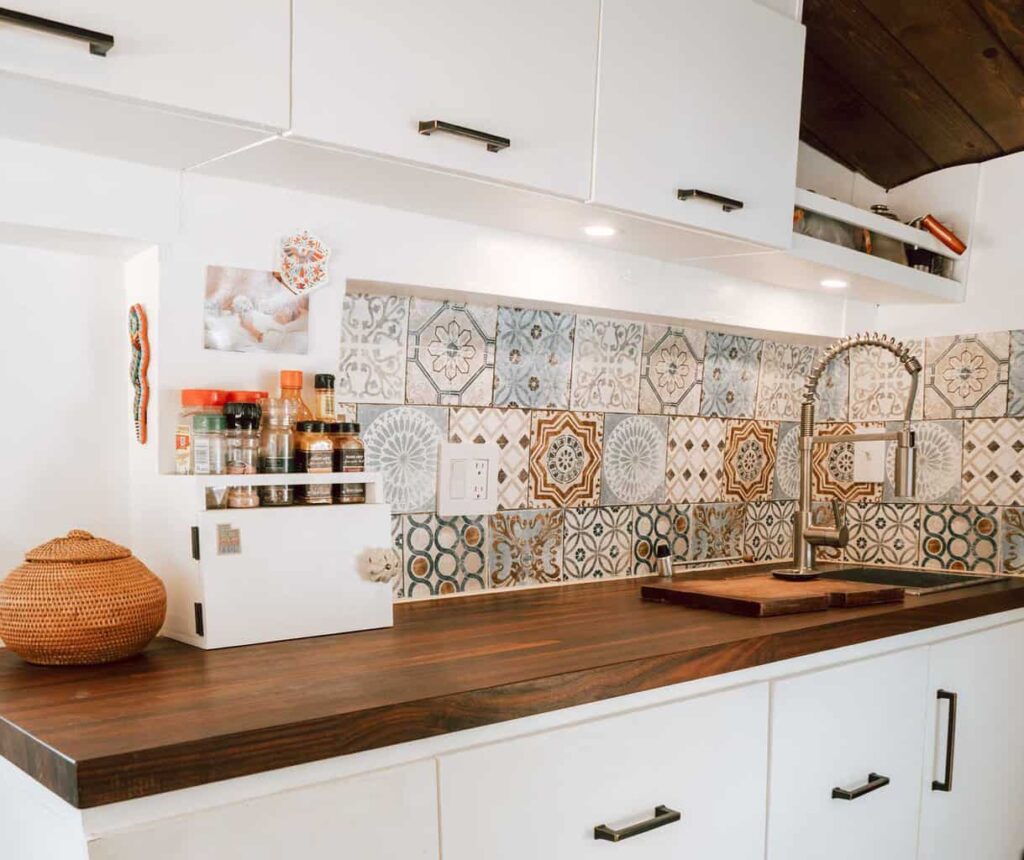
6. Keep Wood Countertop Dry
Maintaining a clean and dry countertop is a surefire way to prevent mold from growing in your campervan.
We learned this lesson the hard way.
One night, we left a moist towel on our butcher block countertop, and by mid-day the next day, we could already see tiny black mold spores growing into the wood.
We let the wood dry and dabbed some anti-mold solution onto the spores. Luckily, we haven’t seen any mold growth on our counters since.
But since then, we’ve learned to be vigilant in keeping our wood countertop free of water and moisture. This is especially true in the areas around the sink.
We quickly wipe the water away if we find little water puddles on our countertop (usually during cooking and after dishwashing).
And we never leave moist towels on the countertop anymore. All damp towels are now always hung on a dry line or on our multi-clip hanger (see tip #11).
7. Keep Area Under the Sink Dry
The cabinet area under the sink is a prime location for mold growth. It’s dark, has no air ventilation, and the area is prone to being wet due to water leaks.
We also discovered mold growing under our van’s sink area one year into its van life.
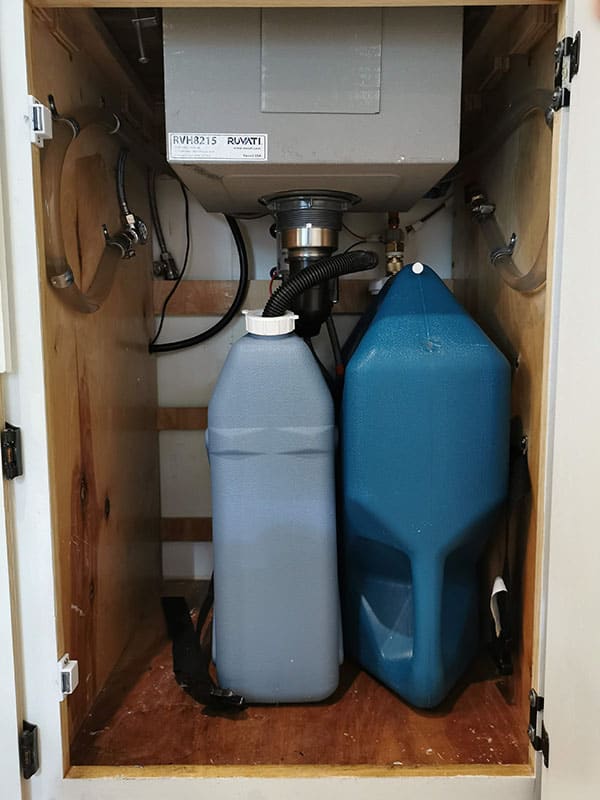
To solve the problem, we added a layer of clear coat (polyurethane) to make the wood wholly waterproof and impenetrable to mold.
We also regularly wipe the sink cabinet to remove any moisture, mold, and mildew growing on top of the clear coat.
Lastly, we promote ventilation under the sink by using a USB fan to air out the area when changing our water tanks.
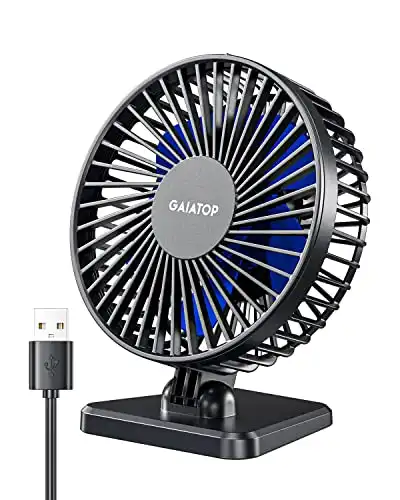
Perfect for keeping cool during the summer months. Has 3-speed settings and uses less than 8W of power (on high).
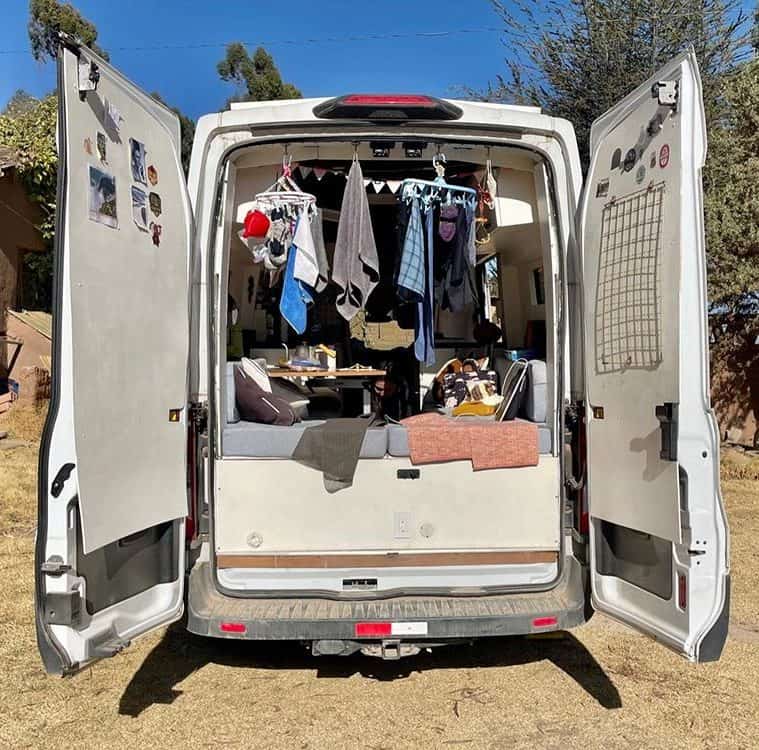
8. Prioritize Air Circulation & Sunlight
Even though a vent fan is critical for air circulation, it doesn’t come close to the airflow you get when you open all your doors.
That is why when we’re parked at a campsite or boon-docking away from public spaces, we like to open all our doors, including sliding and back doors, to promote as much airflow as possible throughout the campervan.
Within seconds, we can eliminate musty, dusty air and bring in fresh, clean air.
Keeping our doors wide open does wonders for improving internal air quality, wicking away moisture, and preventing mold.
9. Air Out the Mattress
The underside of the bed mattress is a significant source of mold growth in campervans. This is because that side of the mattress likely experiences no airflow, traps moisture, and receives no sunlight.
It is the perfect mold breeding ground.
Mold growth under the mattress is more of an issue for campervans with fixed beds (since fixed mattresses are often rarely aired out). And this is one of the primary reasons we prefer convertible campervan beds.
To prevent mold from growing under a mattress, regularly flip the mattress to allow the underside to dry out.
Note: A mattress underlay can significantly improve air ventilation under your mattress and prevent mold growth. If you have a fixed bed, consider getting one of these.

Made from spun polypropylene that is resistant to mold growth and promotes airflow under the mattress. Cuts easily to fit your van's bed dimensions.
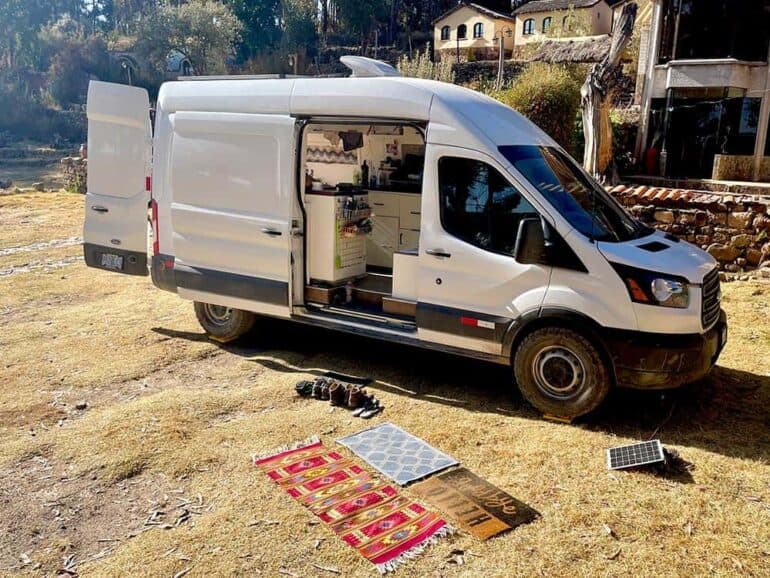
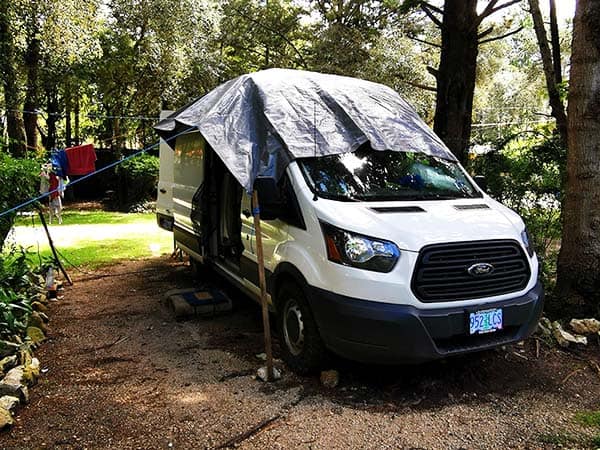
10. Dry Rugs in the Sun
If you have area rugs in your campervan, it is a good idea to take them out to dry in the sun regularly.
Our van has two small rugs and a mat that regularly gets moist when we cook, wash dishes, and track in water from outside (hello, rainy season!).
So, if we experience a sunny morning, we like to place our rugs and mats out to dry in the sun. Not only does this help to prevent mold growth, but doing so also keeps our rugs smelling fresh and clean.
11. Hang Clothes & Towels
When living in a campervan, it’s easy to throw your used clothes and towels on the bed, shove them inside a cabinet drawer, or toss them in the front cab area.
But piles of used clothes and towels present another potential breeding ground for mold and foul odors in campervans.
That’s why we hang EVERYTHING that could have moisture in them.
This includes:
- Used socks, shirts, & underwear
- Shower towels
- Hand towels
- Dish drying towels
If you don’t already have one, get a foldable clip hanger. We’re able to hang over 20 pieces on only one hanger. It’s incredibly space efficient and one of our vanlife essentials.
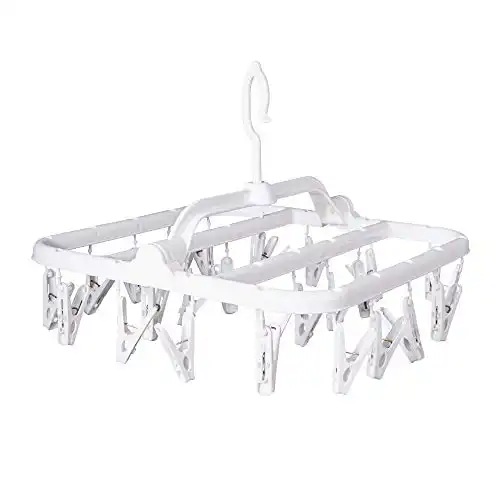
Top van life essential. Provides a space-efficient drying solution for moist towels and clothes. Folds and efficiently packs away when not needed.
12. Avoid Humid & Rainy Environments
This is a no-brainer, but to prevent mold in a campervan, you can simply avoid environments where mold growth is common.
This includes places that are hot and humid or regions that experience strong rainy seasons.
Remember: Mold loves warm and humid environments.
If mold is a genuine concern for you, travel with the seasons and look for cool, dry environments.
Products We DON’T Recommend
Unfortunately, not every mold-prevention product you hear about actually works, especially when it comes to camper vans.
Below are three products we do not recommend to prevent mold in your camper.
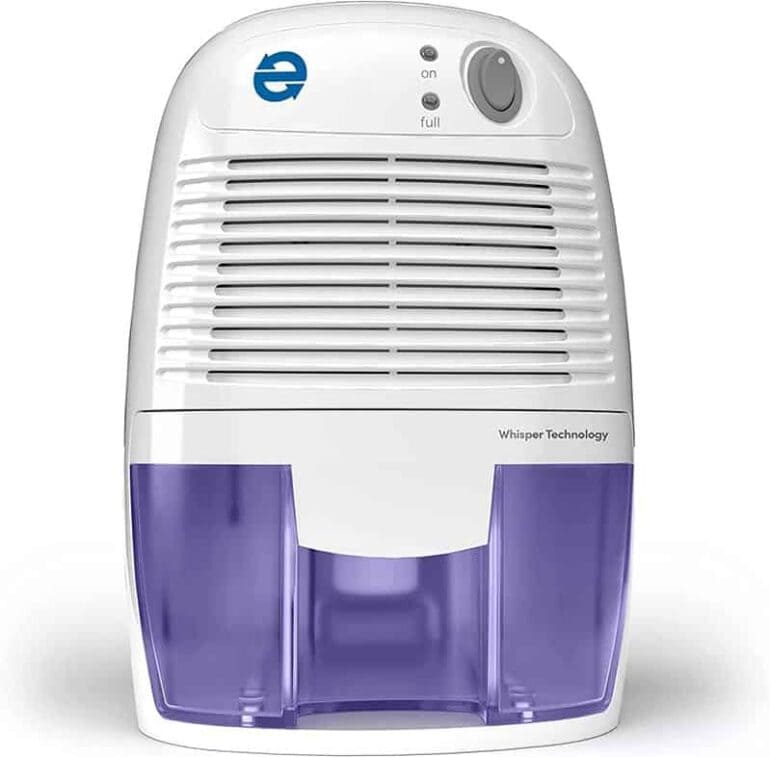
1. Dehumidifiers
Most household dehumidifiers are too large, bulky, and power-demanding to reduce moisture realistically in a campervan.
Some van lifers recommend the Eva-Dry dehumidifier, a low-wattage (25 watts) dehumidifier advertised in rooms smaller than 1,100 sq. feet. However, though this product might be perfect for a small closet, it is not a good fit for campervans.
That’s because, at 25 watts, there isn’t enough power to pull moisture out of the air effectively. Furthermore, whenever you open your sliding doors or turn on your vent fan, you let significantly more moisture into your van than the dehumidifier can pull out of the air.
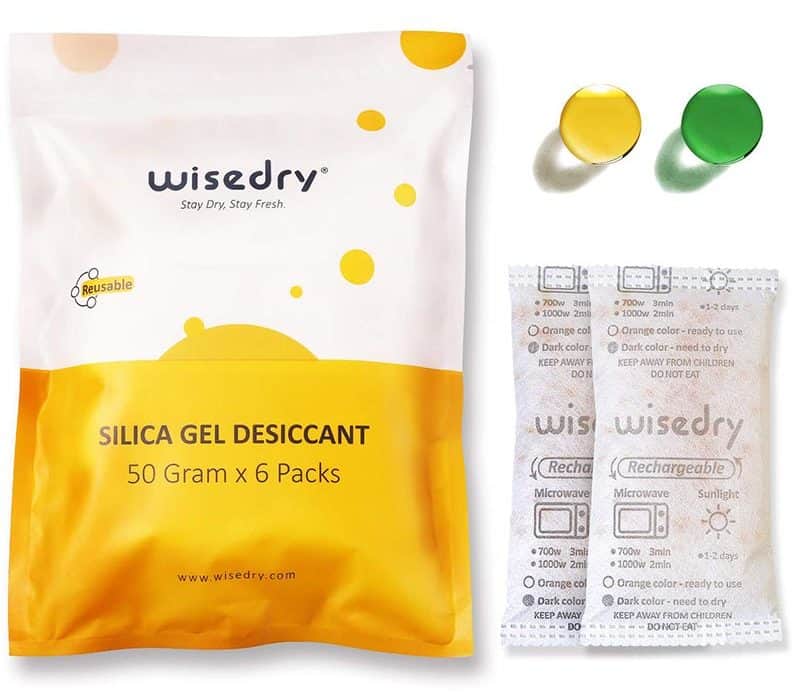
2. Desiccant
Dessciant is similar to dehumidifiers in that they pull moisture from the air, but instead, they store the water in silica gel beads.
However, we do not recommend desiccant to remove moisture from a campervan because desiccant cannot absorb moisture quickly enough to make it worthwhile.
And, like with the dehumidifier, you let in much more moisture than the desiccant can handle whenever you open your doors or use your vent fan.
This includes kitty litter! We have a cat and have traveled through many humid environments with kitty litter. Take it from us: kitty litter is NOT an effective solution to reduce moisture in a campervan.
3. Vapor Barriers
We’ve seen multiple YouTube videos and blogs promoting vapor barriers as a solution to preventing mold growth behind the walls and ceilings of campervans.
But we think this is folly.
Not only would you be trapping existing moisture behind your walls and preventing it from escaping, but it is virtually impossible to ensure that your barrier is 100% impenetrable by moisture.
100% is a hard standard to meet.
Conclusion
We hope you learned a few tips from our experience on preventing mold in your campervan.
Mold is difficult to prevent completely, and you may make mistakes, just as we have.
But as long as you stay vigilant in drying out the interior of your van and continually inspect your home for mold growth, we’re confident you can keep your camper as realistically free of mold as possible.
If you have any questions on preventing mold growth in your camper van, please let us know in the comments section below.
Happy travels!

Van Conversion Essential Bundles
Every resource on our website is 100% free to download and use. We don’t charge you, and we don’t require your email address. Happy building!


Thank you so much for all of your information and guides! I cannot express how much I appreciate the well-thought-out insights offered here on Asobo Life; furthermore, that you both share with transparency. No ads, no gatekeeping; just concise and honest knowledge.
Thank you Zoe, for your comment! It means a lot to us! 🙂