DIY a Stunning Kitchen Cabinet in a Campervan (Step-by-Step)
Building a custom campervan kitchen cabinet and finishing with a stunning butcherblock countertop is no easy task. In our case, constructing a van cabinet from scratch was one of the most challenging parts of building our camper van.
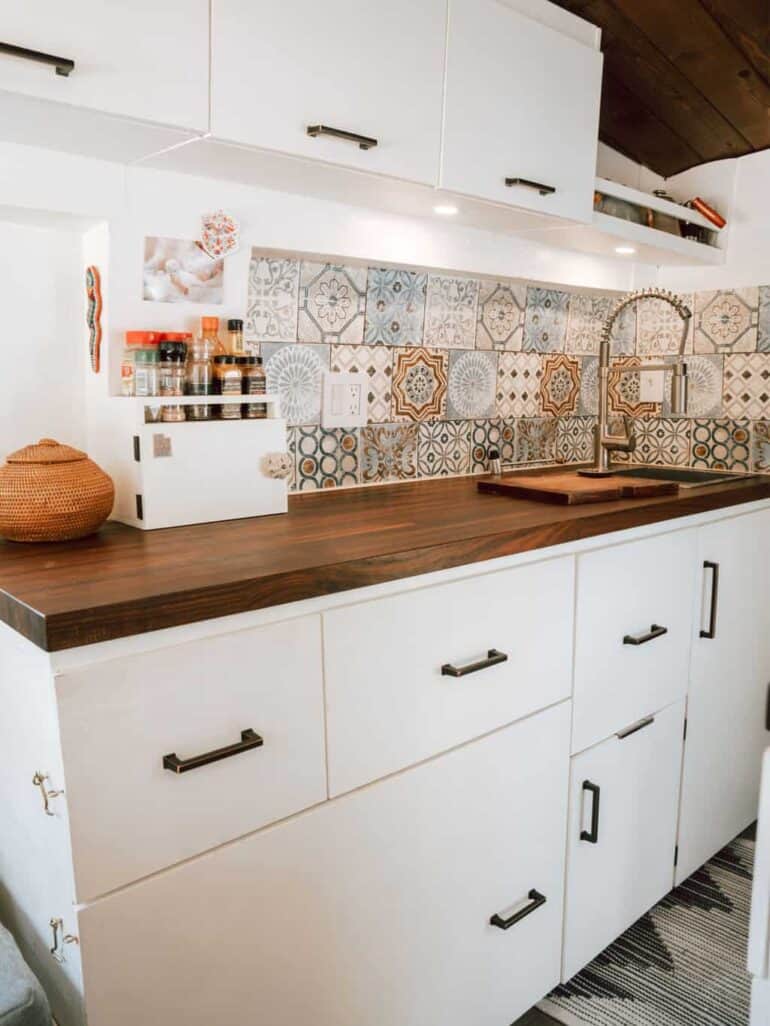
But after ten days of hard work, we completed our camper’s kitchen cabinets and love how they came out. And best of all, the walnut butcher block countertop is one of the most beautiful aspects of our van build. Check out our kitchen cabinet below and we hope you agree, too!
Though building the cabinets was one of the most technically challenging parts of our van build, we’re confident that you can create your own camper cabinets if you create a detailed plan in advance and take your build slow and steady.
In this post, we want to teach you how to DIY your own campervan cabinets. Specifically, we’ll go over how to:
- Plan the cabinet dimensions.
- Build the cabinet base & frame.
- Construct drawer slides.
- Sand and paint the cabinets.
- Install counter in the van.

Disclosure: As an Amazon Associate, this site earns from qualifying purchases. Though we may earn a commission, the price you pay always remains the same.
Step 1: Plan Camper Cabinet Dimensions
Before constructing your campervan cabinets, it’s wise to do some planning so that you know where they’ll be installed and what their overall dimensions will be.
We recommend creating a digital floor plan for your camper interior. If you read our post, you’ll learn how to make the exact same layout images that you see below. Best of all, all the software we recommend is entirely free to use.
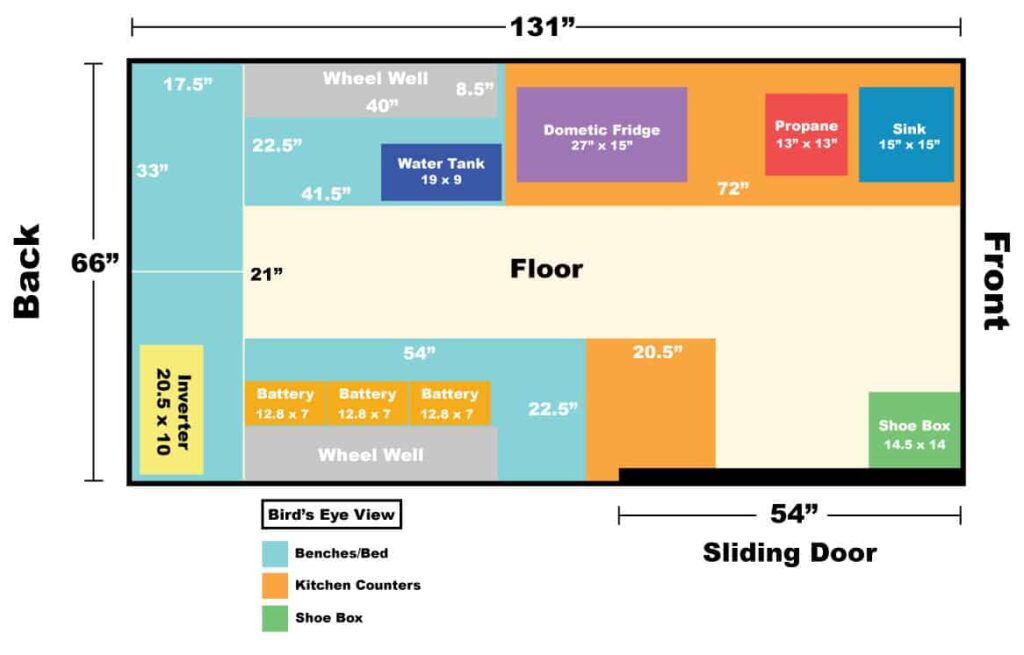
Bird’s Eye View
Below, you can get a bird’s-eye view of our van’s layout, including our cabinets, which are shaded in orange. In our van, we built two cabinets. Our primary counter is 72″ long and sits just behind the driver’s seat. The secondary cabinet is only 20.5″ long and sits right next to the sliding door.
Side View
Below, you can see a side view of our campervan cabinets. Included in the diagram is a more detailed plan of how we plan to fit our large items (fridge, propane tank, sink, and water tanks) inside the cabinets. You can even see how we planned to partition the cabinet with drawers.

Campervan Cabinet Dimensions
Planning your cabinet’s overall dimensions is the first step. How tall will your cabinets be? How long? How deep? Below, we include some considerations to think about when planning the size of your cabinets:
- Your height: The height of your cabinets should depend on how tall you (and your partner) are. Hold your arms near your hips, and imagine cutting some vegetables on a countertop. Measure this distance from the floor to your hands; this should be an ideal height for your cabinet.
- Total storage space: List all the products you want to store inside your camper’s cabinets. In our case, we store our fridge, propane tank, sink, freshwater tanks, and Instant Pot. You should get specific dimensions for each product and build your cabinets around these large items.
- Countertop area: You must decide how much countertop space you want in your campervan. One of our biggest van build tips is prioritizing lots and countertop real estate. You’ll thank us later when you have a spacious kitchen for meal prepping and dishwashing!
The exact dimensions of our camper van’s cabinets are:
- Driver side: L72” x H37” x D22.5”
- Passenger side: L20” x H37” x D22.5”
Once you have finalized the dimensions of your campervan cabinets, you’re ready to start the construction process. Check out our camper van interior layout creator post to learn how to make your own digital layout.
Step 2: Build the Cabinet Base (With Toe Kick)
Although we could have built our van cabinets and installed them right onto the floor of our camper, we decided to construct a base for our cabinets to sit on first. By building a base for the cabinets, we would be lifting the cabinets two inches off the floor and creating a toe-kick area for our feet.
You might initially think that building a toe kick under the cabinets isn’t worth the effort, but after 3+ years of van life, we’re glad we put them in. Toe kicks do a lot to help make our tiny van feel more open less cramped, and prevent us from constantly jamming our toes against our cabinets.
Construction Steps
Building the cabinet base should be straightforward since you’ve already completed your floor plan sketch in Step 1.
- Dimensions: In our van, the cabinet base is 2″ tall and 3″ smaller than the final cabinet all around (to create the toe kick area). So, since the dimensions of our primary campervan cabinet are L72″ x D22.5″, the cabinet base will be L66″ x 16.5″.
- Material: We used 1/2″ baltic birch plywood, and a table saw to cut the plywood strips we needed for the base.
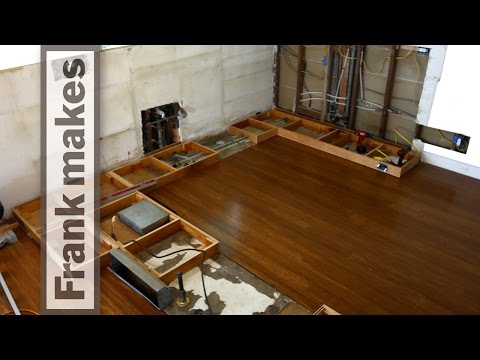
DIY Cabinet Base Instructional Video
For an excellent tutorial, watch Frank Howarth’s instructional YouTube video. His video below is a helpful resource and is the same video we used when building our own cabinet bases.
Materials & Tools List
1/2″ plywood boards are perfect for building the base for your van’s kitchen cabinets. Below are other materials and tools you will need to construct the cabinet base.


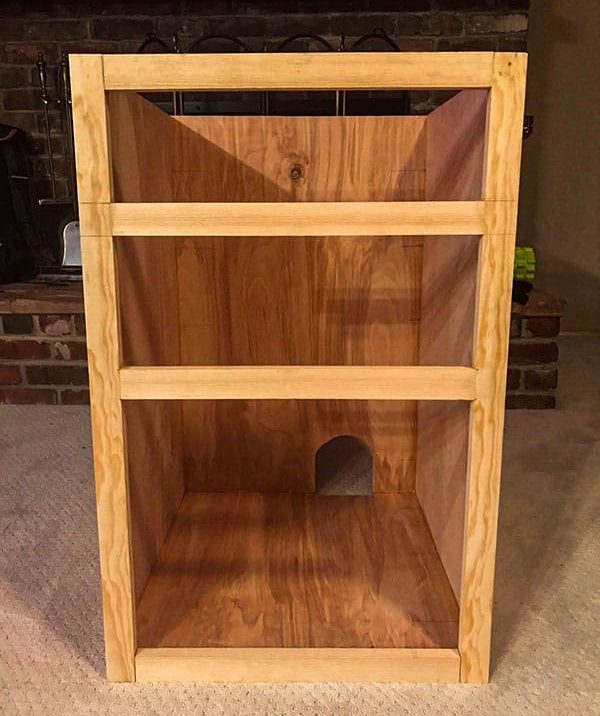
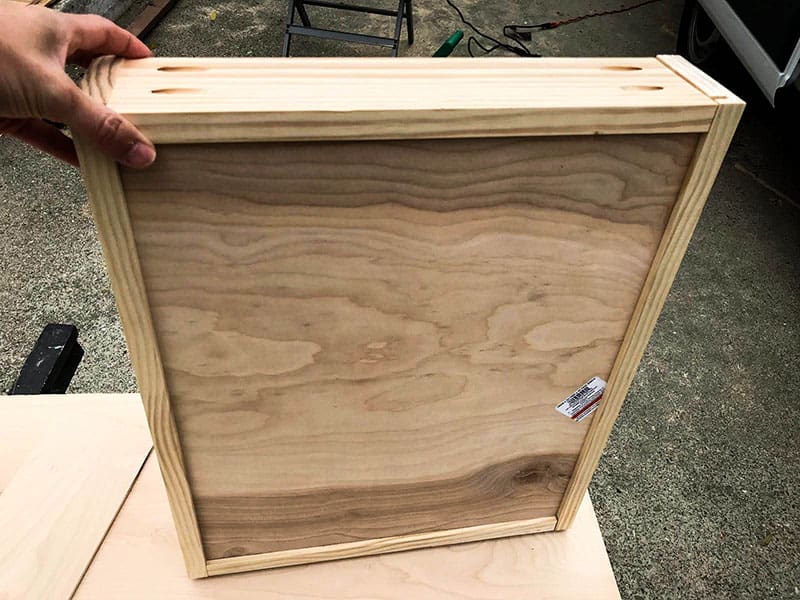
Step 3: Build Camper Cabinet Frame (Carcass)
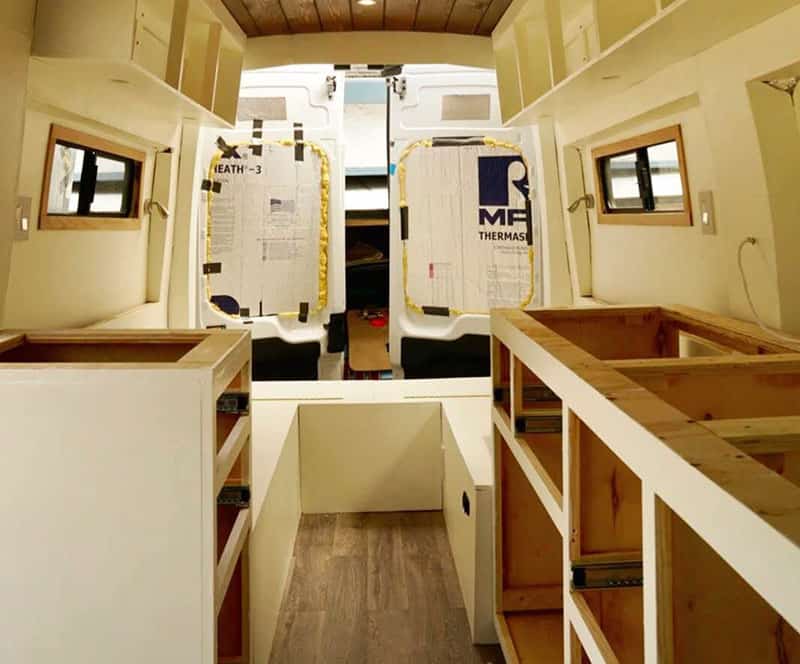
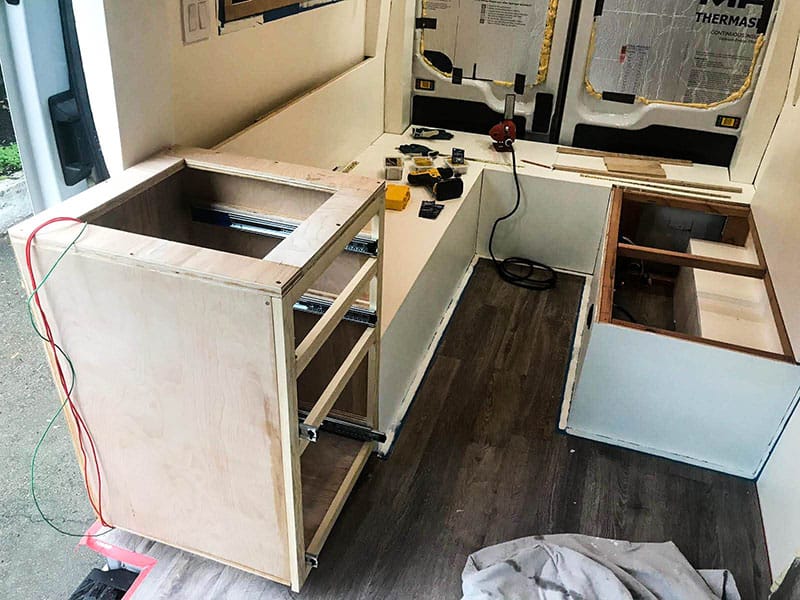
With the cabinet base completed, the next step is to build the cabinet frame. The picture here shows the completed cabinet frame for our secondary counter, which will be installed next to our sliding door. You can see how we accounted for three drawers to be installed in the future.
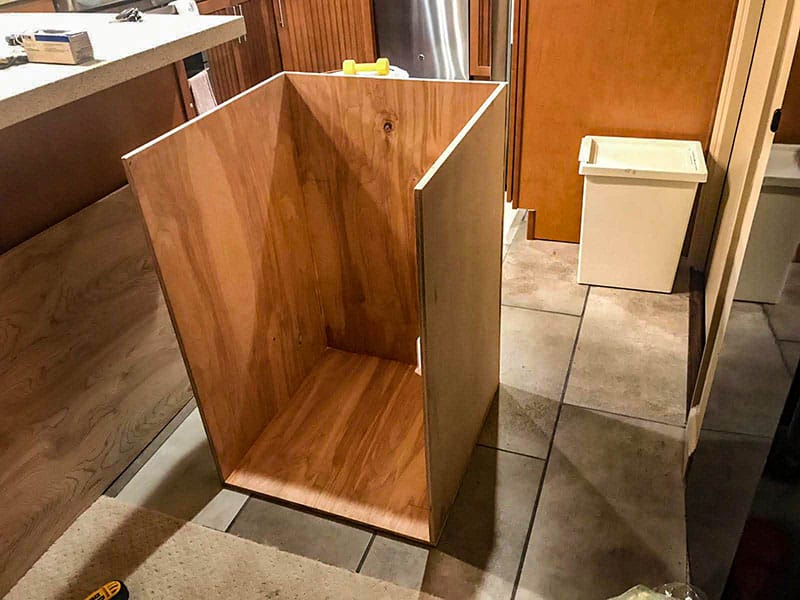
Assemble The Base And Backsides Of The Frame
First, you’ll want to attach the cabinet’s back, left, right, and bottom sides. We recommend using ½” baltic birch plywood to construct the back three sides of the cabinet frame since this thickness provides the best compromise between being sturdy yet lightweight.
To attach the plywood boards together, we used a combination of 6×1 wood screws and lots of wood glue. There will be a lot of vibration when driving your camper van, and you want the cabinet frame to hold firm.
When screwing and gluing the plywood boards together, you want to make sure that the joints are kept at 90 degrees. It’s too easy for the glue to dry and find out your plywood joints have settled at either an obtuse or acute angle. That’s why a framing square was one of our most essential tools when constructing our cabinet frame.
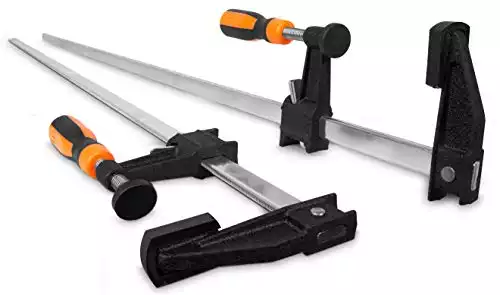
Lastly, having long clamps is a must. These clamps help to keep the plywood joints tightly together until the wood glue dries.
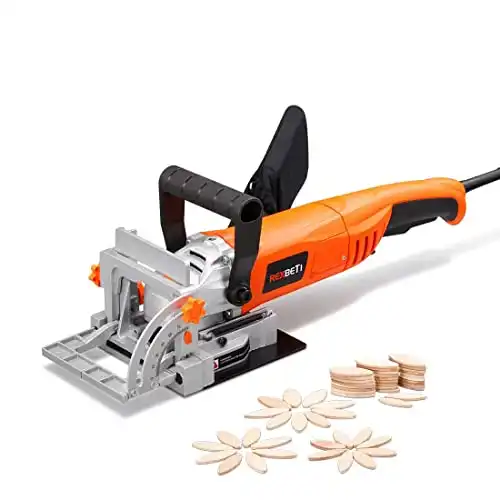
DIY Tip: Consider using a biscuit joiner for an even stronger construction.
Build the Cabinet Front Frame
This is optional, but you can add a front cabinet frame if you care about cabinet aesthetics. To do this, we glued 2×1 pine wood beams to the frame to create our cabinet fronts.
Caveat: If you add a front frame as we did, it will make installing your drawer slides more complicated, and you will have less overall storage space inside your drawers. If you decide not to install a front frame, skip to Part 3 below.
Once you’ve framed the boundary of the cabinet frame with the pine beams, you can install your horizontal pine wood strips to partition the area for your drawers. In the below photo, you can see how we use our long clamps to keep the horizontal wood pieces in place until the wood glue dries.

Adding a Cabinet Top Frame
If you plan to add a heavy butcher block countertop, installing a top frame to the cabinet frame is a good idea. This top frame will add surface area and help to support the weight of the eventual countertop.
A single layer of ½” plywood should work well.
Materials & Tools List
Below are the materials and tools we used to build our van kitchen counter frame. It is similar to what we used to construct the toe kick base.

Step 4: Building Cabinet Drawers
The last part of the cabinet construction was creating the drawers and installing the drawer slides.
Determine Shelf Dimensions
Before constructing the shelf frame, it’s essential to know what the final dimensions of each shelf will be.
The depth of the shelf can be whatever you’d like it to be but it is typically just an inch shorter than the depth of your camper cabinet frame.
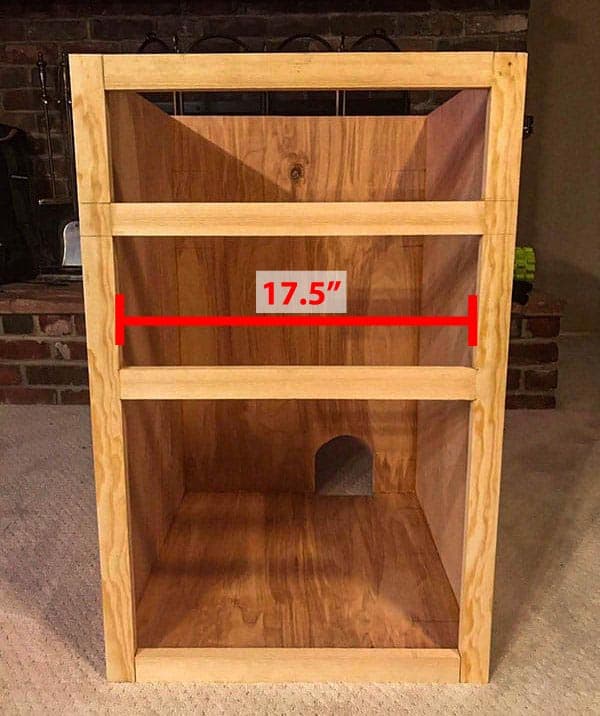
But the width of the shelf must be much more precise. To determine the width of the drawer, you will need to measure the width of each shelf partition and subtract exactly 1” because the two drawer slides will take up ½” of space each.
For example, the width of the drawer partition in our secondary counter is 17.5”. Therefore, the width of our drawer had to be exactly 16.5”. Refer to the below image.
Construct Drawer Box Frame
Once you know the dimensions (length, width, and height), you’re ready to build the cabinet drawer frame.
Though you can use 4×1 pine beams like in the picture below, you can just as easily build a drawer frame using ½” birch plywood. When fixing two pieces of wood together (whether using pine beams or plywood), use plenty of 6×1 wood screws and wood glue to create strong joints.
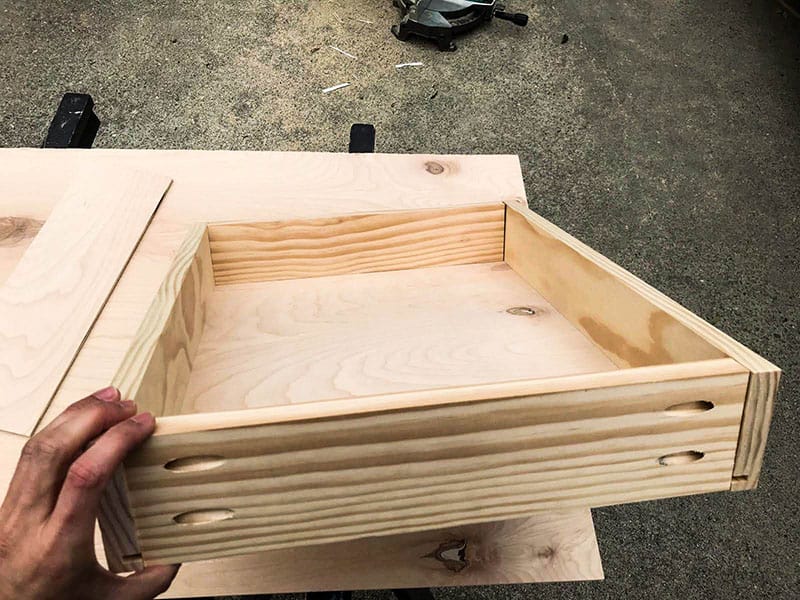
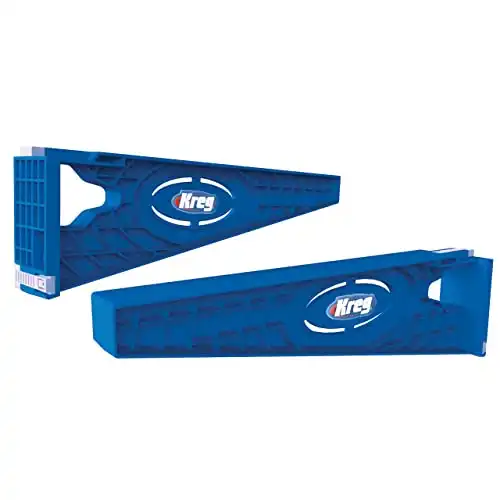
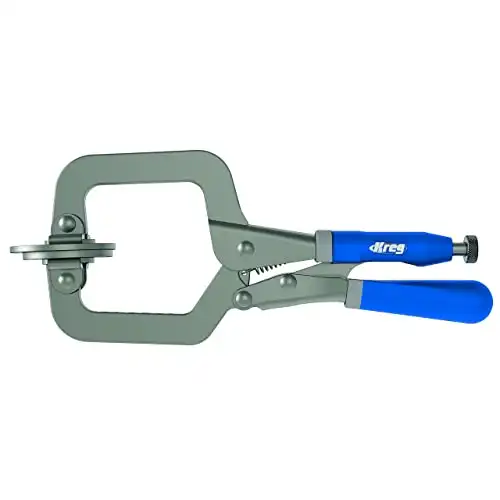
DIY Tip: The Kreg Tool’s Pocket Hole Jig became very useful for creating strong drawer frames. We recommend picking one up since you can also use it to create strong joints for your overhead cabinet and bed frames.

A woodworking must-have for making strong, resilient wood joints. Especially useful for use in camper vans as the vibration caused when driving places additional stress on wood joints. Easy and quick to use for beginners.
Add the Drawer Bottom
The easiest way to add a bottom to the drawer frame is to screw & glue a piece of ¼” plywood to the underside of the frame.
However, if you intend for your drawer to hold heavy objects, you can cut dados into your drawer frame and slide your ¼” plywood bottom into the frame. Adding dados, which we did, adds much more structural support.
How do you create these dados?
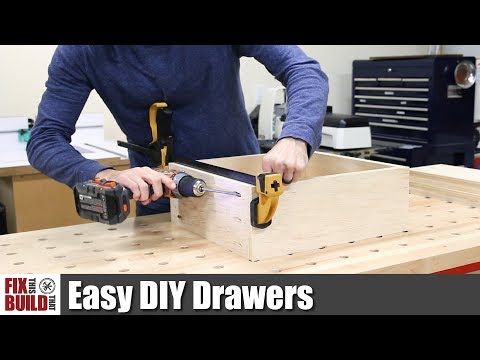
Check out Brad’s video below on DIY cabinet drawers. At 5:52, he talks about creating dados to add greater support for your drawer bottoms.
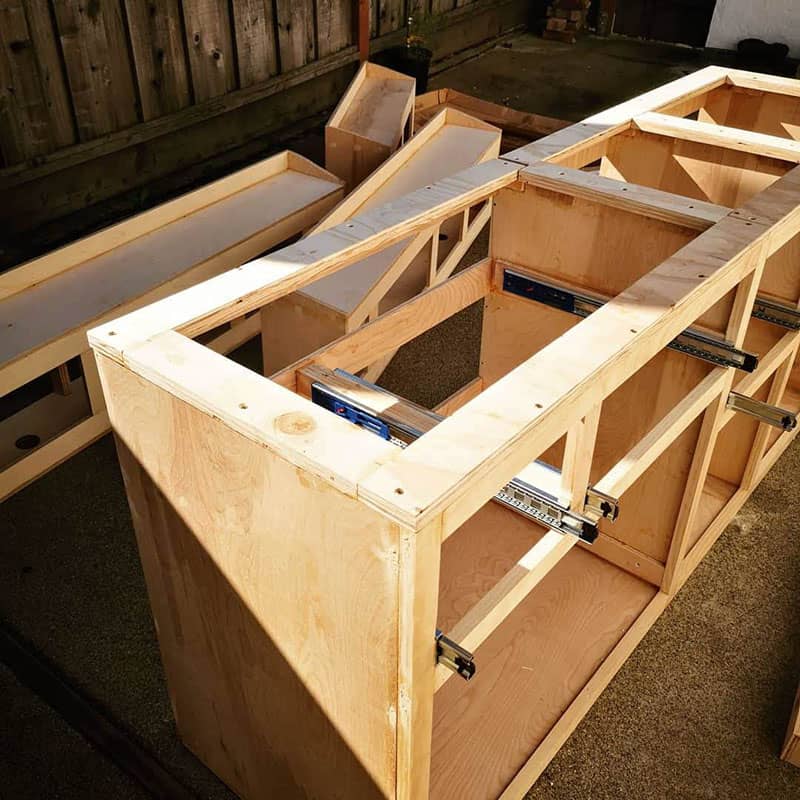
Adding Drawer Slides
With the previous steps completed, you can now add drawer slides to both the drawer and cabinet frames. This is the moment of truth, where you will find out whether or not the drawer will fit inside the cabinet’s frame.
Recommended Products
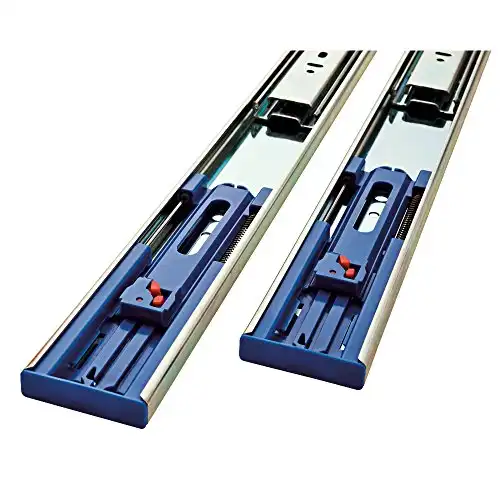
Adding drawer slides is tricky because the slides you install on either side of the cabinet frame must be perfectly level and of equal height. In Philip’s YouTube video, he explains how you can easily and quickly align drawer slides.
Building Drawer Fronts
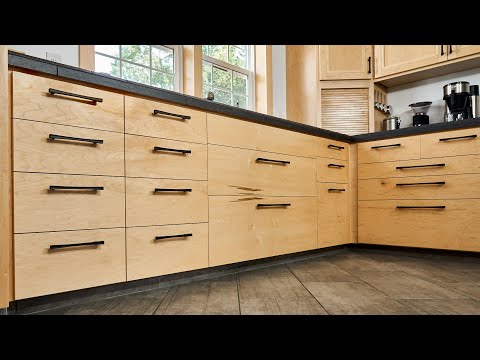
The last step to the campervan drawer construction is to make the drawer faces, or “fronts.” Using a table saw, we made our drawer faces by cutting 1/2″ birch plywood down to the appropriate size. John’s video below details how to create these drawer fronts and how to use a DIY jig to install your future drawer handles.
Step 5: Sanding & Painting Van Cabinets
With the counter frame and drawers completed, you’re ready to sand and paint them.
Anti-Mold Preparation
The first step is to ensure mold does not grow on the camper’s cabinets. To do this, we sprayed the cabinet and drawers with an anti-mold solution. This spray is quick and convenient and was also used in other parts of our van build, including our:
- Furring Strips
- Walls
- Sub-Floor
- Overhead Cabinets
- Bed Frame

Kills mold and mildew and prevents regrowth. Contains no harmful chemicals or fumes. Just spray and allow to dry. We used this spray on our subfloor, walls, and furniture.
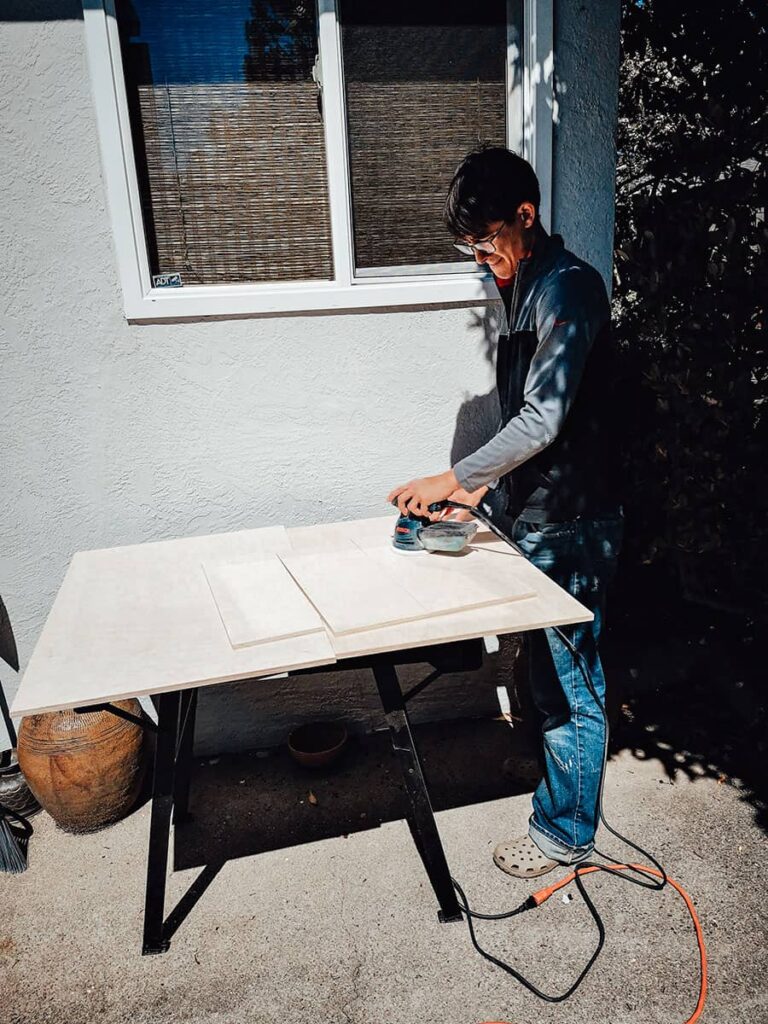
Sanding
Once the anti-mold solution has dried on the cabinets and drawers, use an electric sander to smooth out the plywood boards with 80-grit sandpaper and once again with 120-grit paper. By the end of this, your plywood should be smooth and ready to paint.
DIY Tip: We recommend wearing a filtered mask while sanding and painting. Keep those particles and toxic gasses out of your lungs.

3. Painting
Now, you’re ready to paint your campervan cabinets. If you haven’t yet selected the final color for your cabinets, we recommend checking out two of our posts below:
To prevent mold growth, we first painted two layers of anti-mold primer on our van cabinets.
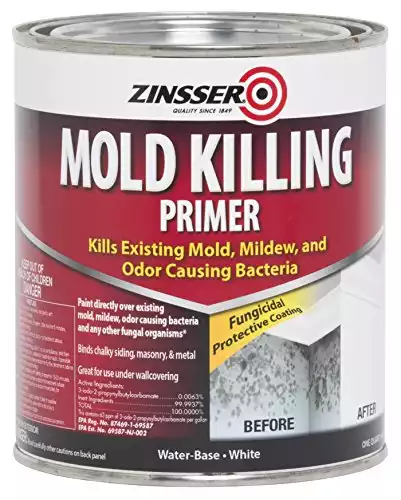
Kills existing mold and mildew and prevents their regrowth. Best used after Concrobium mold spray. Apply two layers of primer onto the subfloor, walls, and furniture.
And lastly, we painted two coats of off-white paint to our cabinets.
Step 6: Installing the Cabinets in the Campervan
If you’ve gotten this far, the cabinet bases (from Part 2) should already be installed in your camper, and the cabinet frame is ready to be installed on top of those bases.
1. Position the Cabinet Frame on the Base
With our toe-kick, we planned a 3″ inset. So when we brought the cabinets into the van and set them on the base, we ensured there was 3″ of space around the cabinets’ underside.
2. Attach Cabinet Frame To Base & Walls
Fix the cabinet frame with screws to both the base and the walls. You will want to use plenty of screws because you don’t want your cabinets to come loose while driving, especially when you’re on rougher roads.
For an extra firm grip, ensure that you are screwing the cabinets into your van’s furring strips. This provides a much stronger hold than simply screwing into your plywood walls.
For more information, read our post to learn how to DIY furring strips for your camper.
Step 7: Adding a Butcher Block Countertop

The last step to completing your van’s kitchen cabinets is to add a beautiful countertop. If you’re ready for this step, read our campervan countertop post to learn more.
We cover:
- Best materials
- How to plan the dimensions
- How to cut a solid countertop board
- Oiling & sealing
- Ongoing maintenance
Video Of Our Campervan Kitchen Counters

In the above video, you can see our campervan kitchen counters live. (Turn on subtitles for English).
In the video, you can get a feel for our walnut butcher block countertop. And a few minutes later, we open all our drawers or cabinet doors to show you what we store inside them.
Please comment in the section below if you have any specific questions regarding our kitchen counter installation.
Happy building!

Van Conversion Essential Bundles
Every resource on our website is 100% free to download and use. We don’t charge you, and we don’t require your email address. Happy building!


Your van is gorgeous! Fom your drawings it looks like you had planned to have the fridge on the driver’s side along with the sink, but in the video it appears to be on the passenger side – is this correct and if so can I ask why you made the change? Thanks!
Hello Beth! Thank you for such a kind comment. Our fridge actually is on the driver’s side, along with the sink. We do have a small counter area on the passenger side, just behind the sliding door. But counter isn’t long enough to fit a fridge. Hope this helps!