How To Install RV Windows in a Camper Van
Camper van window installation is a surprisingly tricky process. That’s because, unlike when installing a vent fan, the entire process is done on a vertical surface instead of a horizontal surface.
But as every part of a van conversion process, take it slow, think ahead, measure twice, and cut once. Being slow and methodical when installing an RV window will significantly increase the quality of your installation and reduce mistakes.
This post details our step-by-step process for installing a window in a camper van.

Disclosure: As an Amazon Associate, this site earns from qualifying purchases. Though we may earn a commission, the price you pay always remains the same.
Step 1: Outline Your Cut With a Template

Tracing your cut line with a marker before you start sawing through your van’s sheet metal is a good idea. However, since windows are bulky and heavy, creating a template for the window area out of cardboard is helpful.
To do this, set the window on top of the cardboard and trace around the window flange with a marker. Then, cut out the template with scissors.
Step 2: Place Template On Inside Van Wall And Trace Cut Line
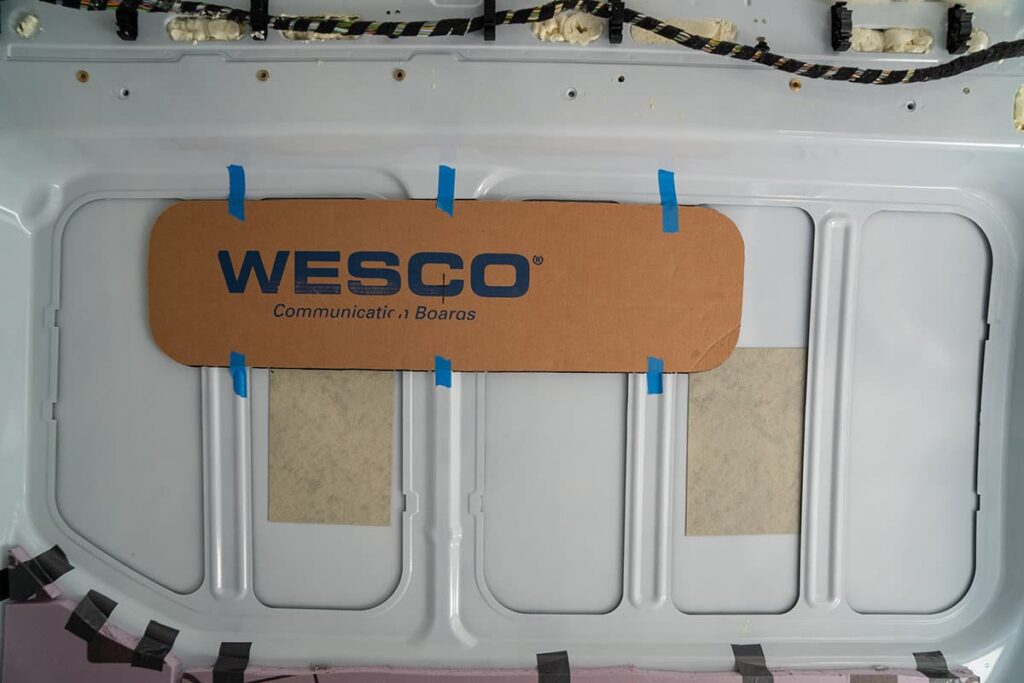
Once you have your cardboard template, tape the template on the van’s wall where you want to install your window.
Setting your template up on your van’s inside or outside wall may make sense, depending on the window’s size. In our case, because our window was small, we set up our template inside.
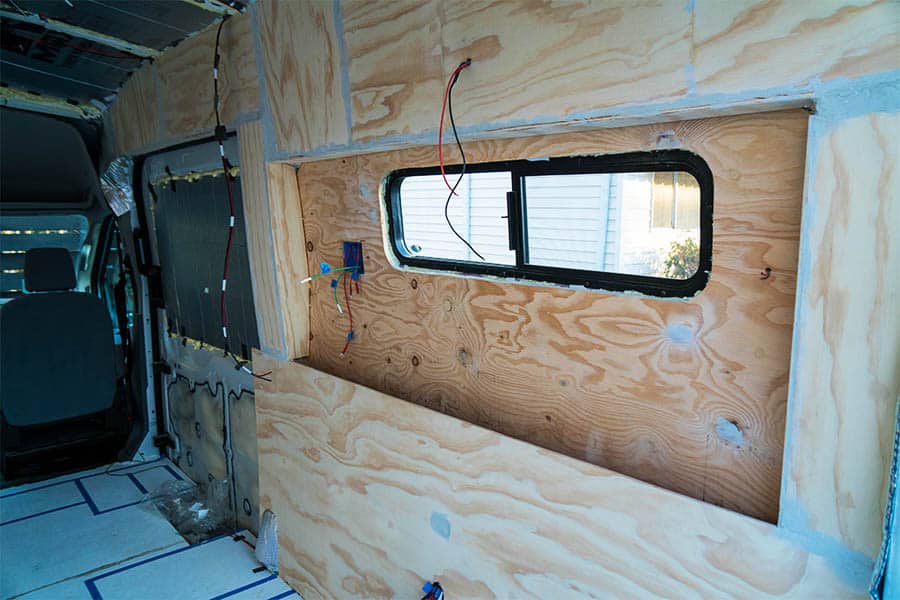
Once your template is taped up, trace around the template with a marker. This will be your cut line.
When finished, it should look something like the below photo.
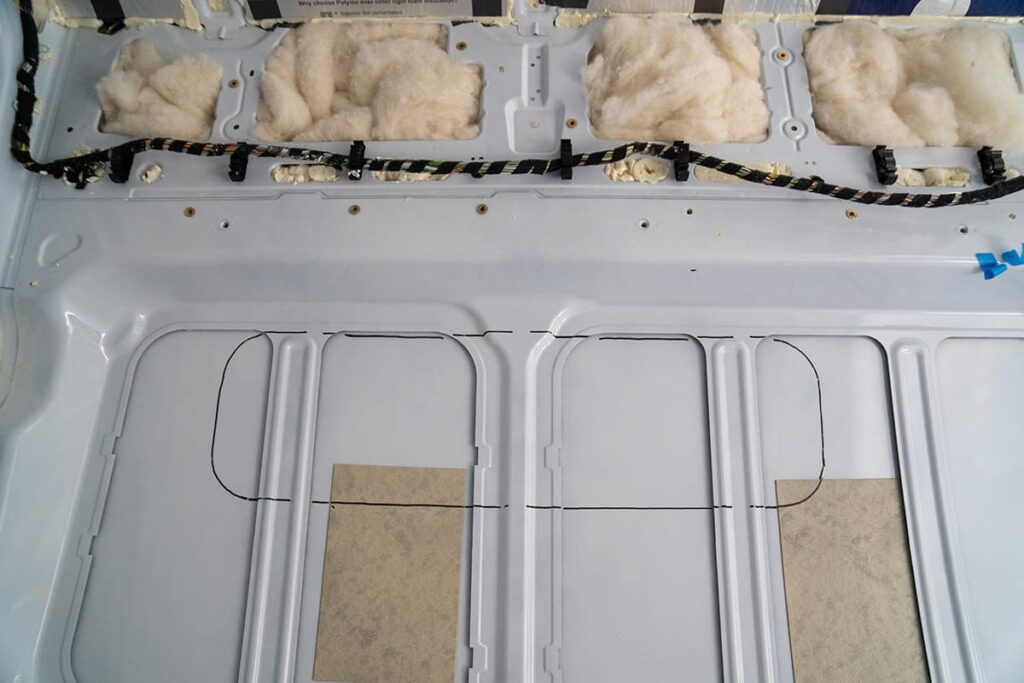
Step 3: Drill Holes Along The Cut Line
Once you’ve traced your cut line with a marker, take your electric drill with a 1/2″ drill bit and drill several holes along your cut line. You want to do this because you will use a marker to connect the drill holes outside your van.
For reference, check out the holes we drilled along our cut line in the picture in step 5.

Step 4: Trace Cut Line Outside The Van

If you created your original cut line inside your van, like us, you’ll need to transfer that cut line to the outside of the van.
It would help if you had drilled several holes along your cut line (from step #3). Connect these holes with a marker to re-create your cut line outside the van. You should have replicated your cut line when you’re finished and are finally ready to start sawing!
Step 5: Cut Out Any Interior Supporting Beams
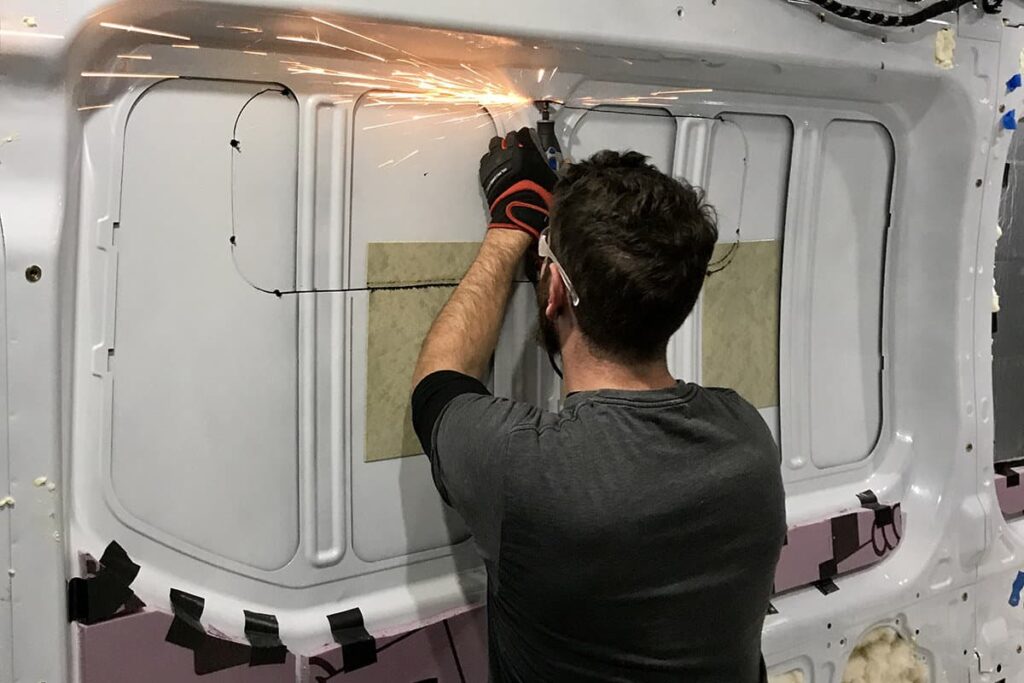
You will eventually use a jigsaw to cut away the sheet metal, but a jigsaw will have difficulty cutting through any vertical support beams on the van’s panel.
In the above picture, you can see how our cut line intersects three-panel support beams. So before using a jigsaw, take a Dremel or an angle grinder and cut away these support beams.
Step 6: Cut Along The Marker Line With A Jigsaw
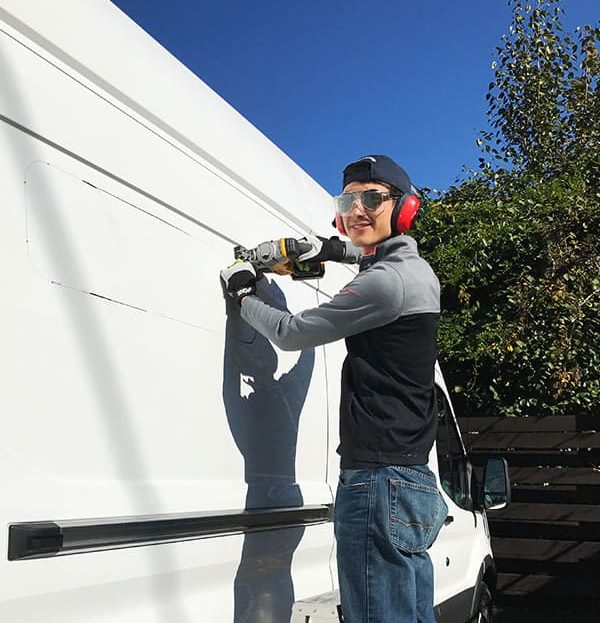
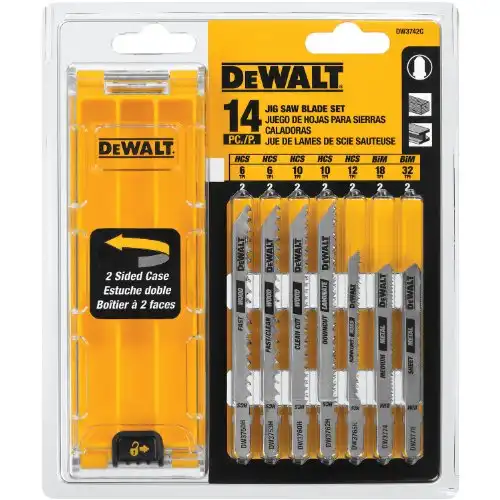
At this point, take out your jigsaw and begin cutting along the marker line. Remember to use jigsaw blades that are designed to cut through sheet metal.
Tip: Press the jigsaw firmly against the van’s frame, keep the blade saw moving at maximum speed, and move the jigsaw slowly along your cut lines.
Go slow; you can do it!

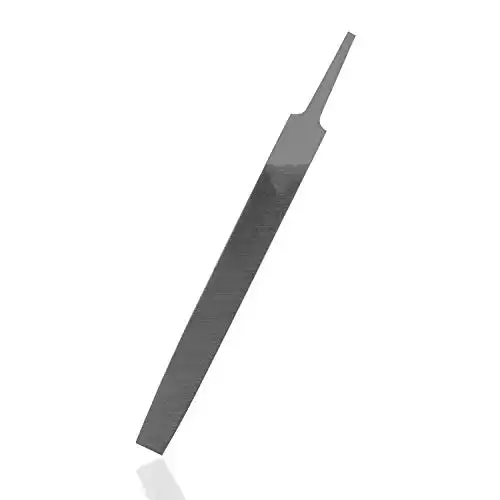
Step 7: File & Treat The Edges
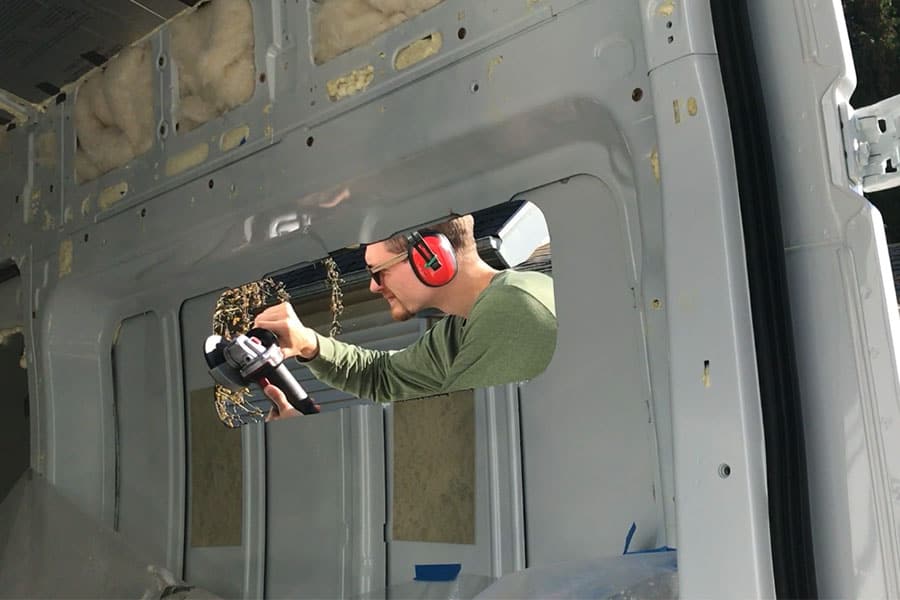
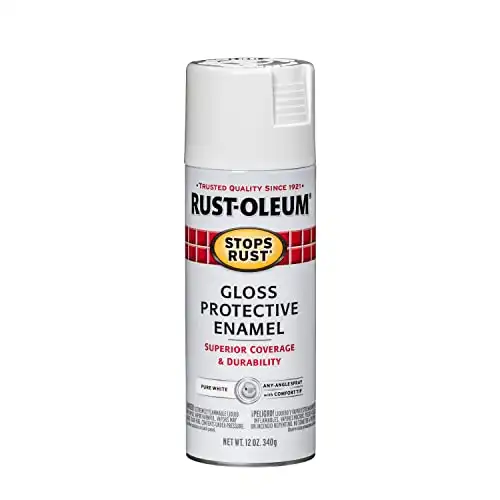
Before installing your RV windows, prepare the cut site by smoothing out the edges with a metal file (or an angle grinder, in this case) and paint the edges with Rust-o-Leum anti-rust paint.
Step 8: Screw The Window In Your Van
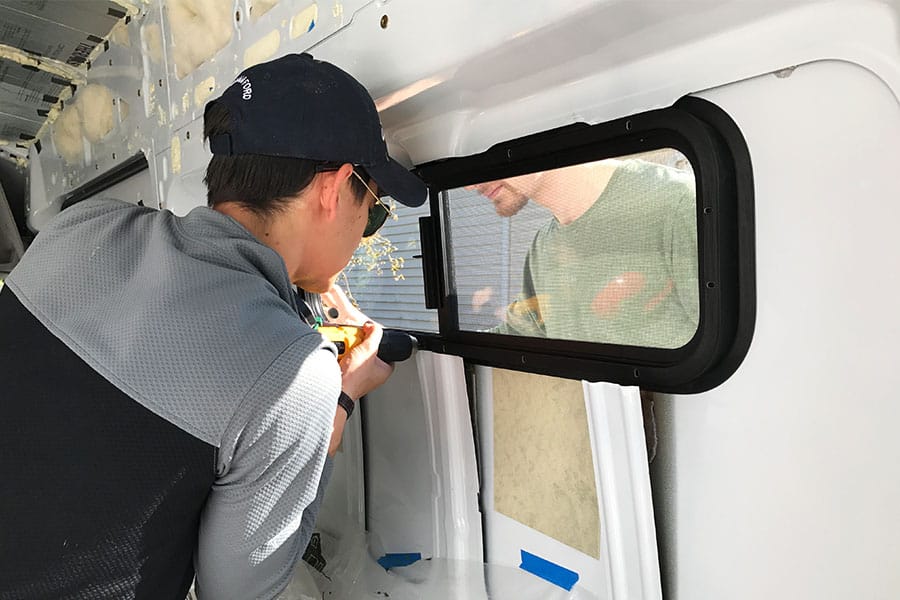
With the cut site adequately prepared, you can begin installing the window in your camper van.
Every window brand comes with slightly different installation instructions. So, it’s essential to read the instructions carefully before starting.
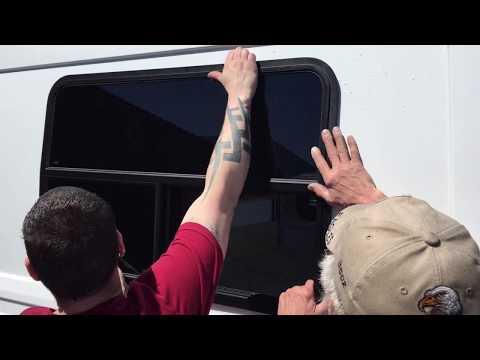
Our windows came with waterproof seal tape, which we applied to the outside part of the window’s flange. We then hoisted the window into the hole.
With the window firmly in place, we took a drill and screwed the window to the van’s sheet metal frame with the supplied screws.

Discreet RV window that is perfect for letting in natural light and fresh air without sacrificing privacy. Includes bug net to keep pesky critters from entering your van at night.
Step 9: Admire Your Camper Van Window Installation Work
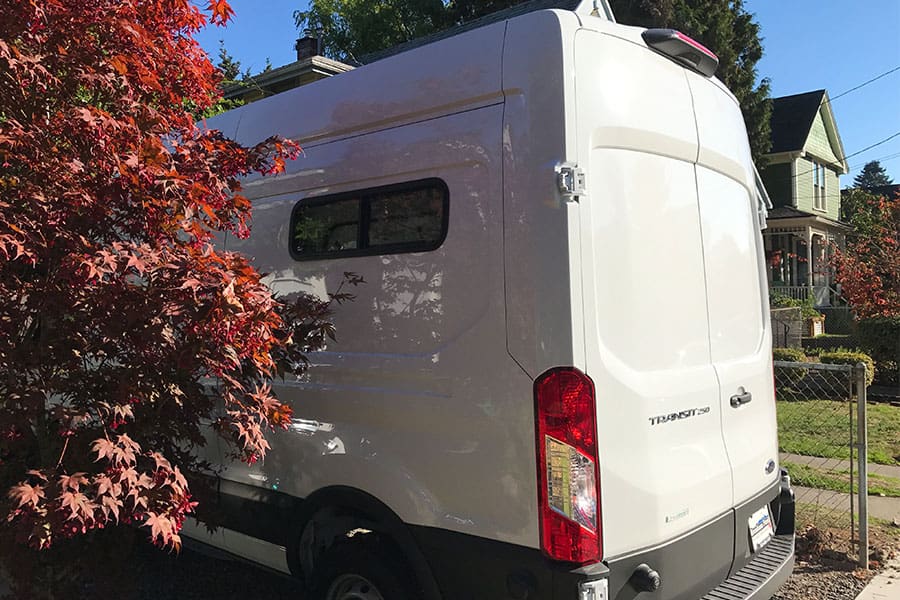
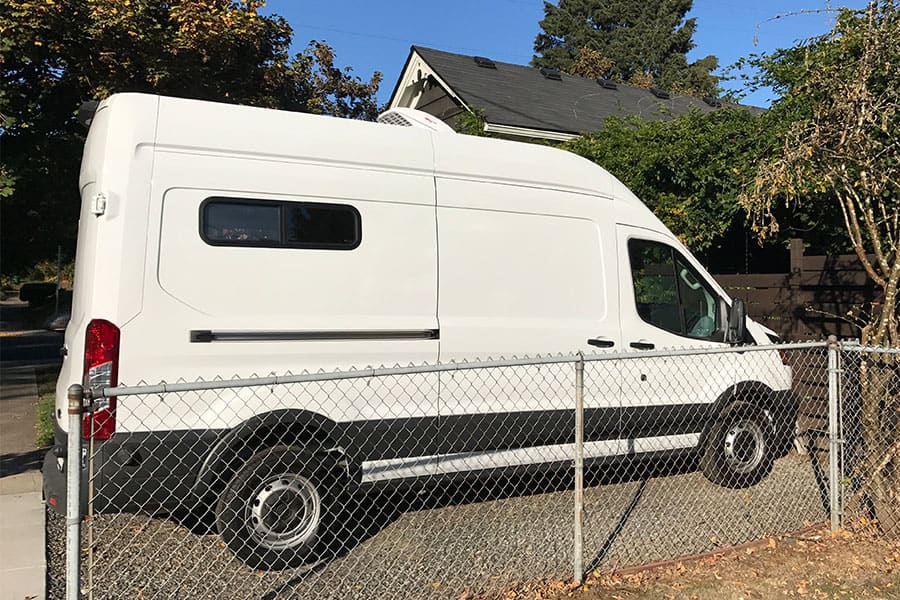
We had two small sliding windows installed on our van’s rear left and right sides when all was finished. Not as easy of an installation process as the ventilation fan, but with the windows behind us, we were ready to begin converting the van’s interior.
Camper Van Window Installation Video
Are Camper Van Windows Important?
When we first purchased our new Ford Transit, we knew immediately that we would install windows in our van. The benefits outweighed any downsides.
Brings Fresh Air Into Your Van
Though just a window alone is nice to bring in fresh air, pairing a window with a vent fan helps to have strong air circulation throughout your van. Pulling fresh air into your vehicle instantly increases your van’s livability, especially during hot, muggy, and rainy days.
Read: How To Install A Vent Fan In A DIY Van
Allows Natural Sun Light To Enter
Even though our camper van windows are small, they still let in lots of sunlight to brighten up our tiny interior space. Compared to lights, natural sunlight is better at brightening up your space and better for your mental health. Who wants to live in a dark coffin of a van?!
View The Beautiful Outside World!
Your camper van can take you to lots of beautiful places and environments in this world. Windows helps you to view these stunning locations from inside your van.
Side benefit: installing RV windows also helps you peak outside at night to ensure everything is safe.
Reduces Claustrophobia
Installing camper van windows dramatically changes the interior feel of your vehicle. By letting in outside light and being able to peer outside, your van’s interior instantly feels more extensive and more spacious. This reduces claustrophobia and tension.
But What About Stealth?
Like installing our vent fan, we know that installing camper van windows significantly reduces our vehicle’s stealth factor. In fact, RV windows probably reduce a vehicle’s ‘stealthiness’ more than a fan.
But, while we do like to travel under the radar and not draw serious attention to ourselves, we firmly believe that forgoing any window installation to become a 100% stealth campervan is a terrible idea.
Conclusion: Installing Camper Van Windows Can Be Tricky
But if you do your search and go slow, we’re confident you can successfully install your camper window. Just remember always to measure twice and cut once!
If you have any questions about installing an RV window in your DIY van, please let us know in the comments below, and we’ll get back to you soon!
For more resources, check out our DIY Camper Van Guide
Happy building!

Van Conversion Essential Bundles
Every resource on our website is 100% free to download and use. We don’t charge you, and we don’t require your email address. Happy building!