Camper Van Lighting Ideas For Setting The Right Mood
“How important can light planning really be?”
Very!
When designing and building a campervan’s interior, lighting design often gets neglected. We often see vans with unintentional lighting without a specific purpose. In a small, singular space (like, say, a van), it is easy for general, unspecific lighting to make a camper van interior feel utilitarian and uninspiring.
Smart lighting choices and placement can create a pleasant and comfortable atmosphere in your camper van home. You just need to plan ahead. This article will discuss how you can accomplish just that.

Disclosure: As an Amazon Associate, this site earns from qualifying purchases. Though we may earn a commission, the price you pay always remains the same.
Why You Should Plan Your Light Layout Early
Planning where and how you will place your light sources before you begin converting the camper is a good idea. You don’t want to lay your electrical wire or drill holes in the wrong places. It is much more challenging to go back and fix your work than to plan and get it right the first time.
As the saying goes, “measure twice, cut once.”
How To Plan Your Lighting Layout
When planning your lighting layout, consider how you will utilize the space in your van. Unless you are in a Class A motorhome, the interior of your campervan will likely be a single room that will encompass all of your activities, which can include:
- Cooking & eating
- Sleeping
- Reading & working
- Socializing
Everything is done in the same room! Most vans have no separation between the kitchen, living/dining room, or bedroom.
Intentionally placed lights, however, can help create a visual partition of the space without using physical wall barriers that are more common in regular households. For example, if you want to read in bed, you can plan to have reading lights installed over the bed (with their own dedicated switch) instead of illuminating your entire van.

We wanted to achieve two primary objectives with our light placement in our van.
- Separate the front half (kitchen) of the van from the back half (bedroom and living room) using “primary lighting.”
- Install “task lighting” such as for reading and cooking.
Our first step was to create a digital sketch of our van’s ceiling on the computer. Below is a bottom-up view of our camper van, where you can see the placement of our LED puck lights.
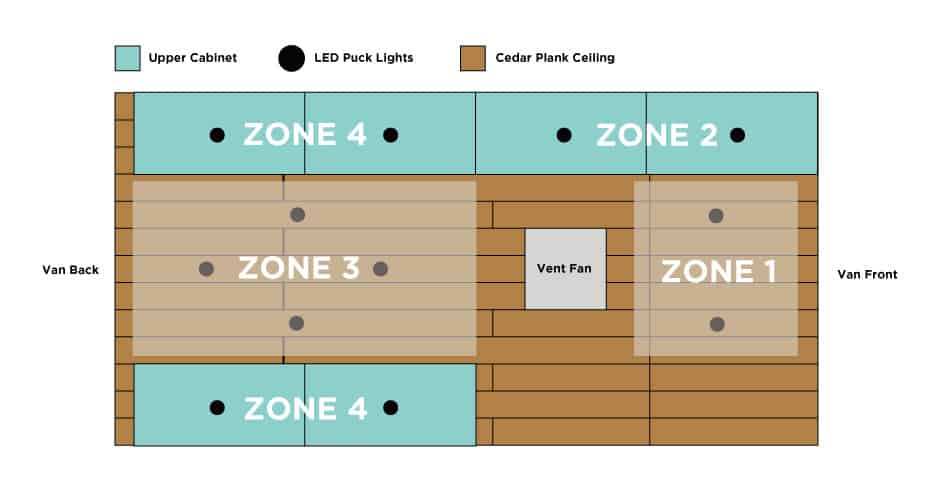
In our sketch above, you can see how we planned the placement of our 12 LED puck lights (black circles).
Zone 1: These two lights are used to illuminate the front half of the van. This is ‘primary lighting’.
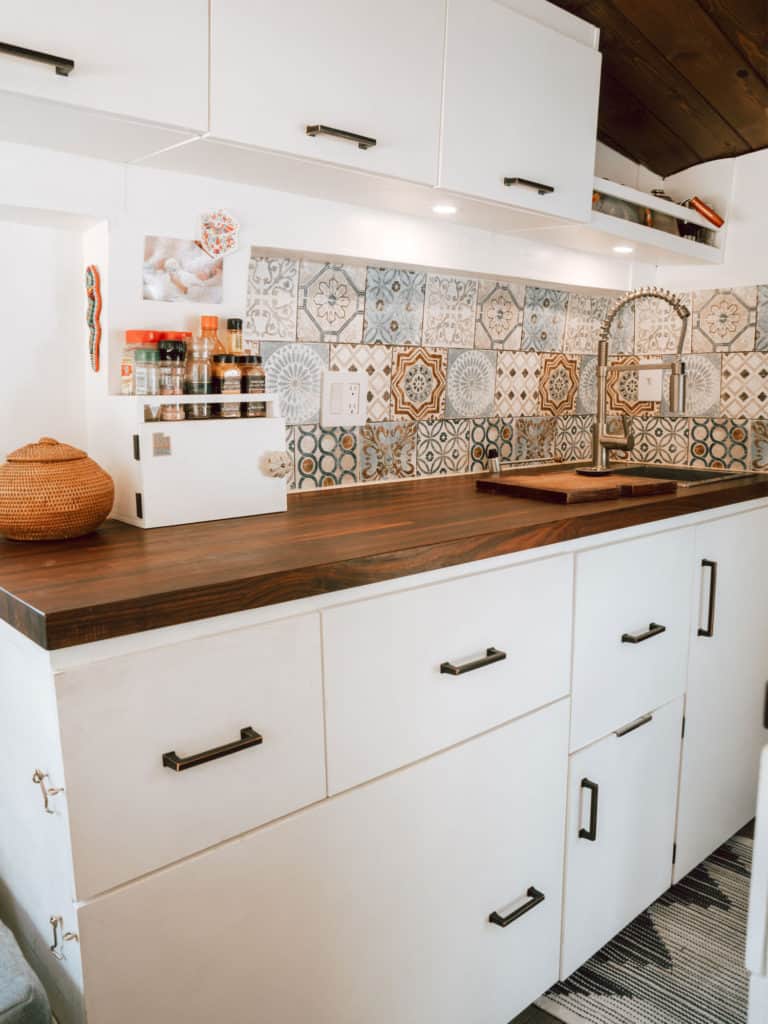
Zone 2: These two lights are installed under our kitchen upper cabinets and are used specifically when using our kitchen counter for cooking and cleaning. This is ‘task lighting’.
Zone 3: These 4 LED lights illuminate the back half of our van. They are used for eating, working, and socializing. This is also ‘primary lighting’.
Zone 4: These 4 LED lights (2 on each side) are used for more focused activities, like working, reading, or when we want to change the mood of the van. These are ‘task lighting.’
Reading Lights (not pictured in the above image): We installed two LED reading lights in the back corners of our van specifically for reading.
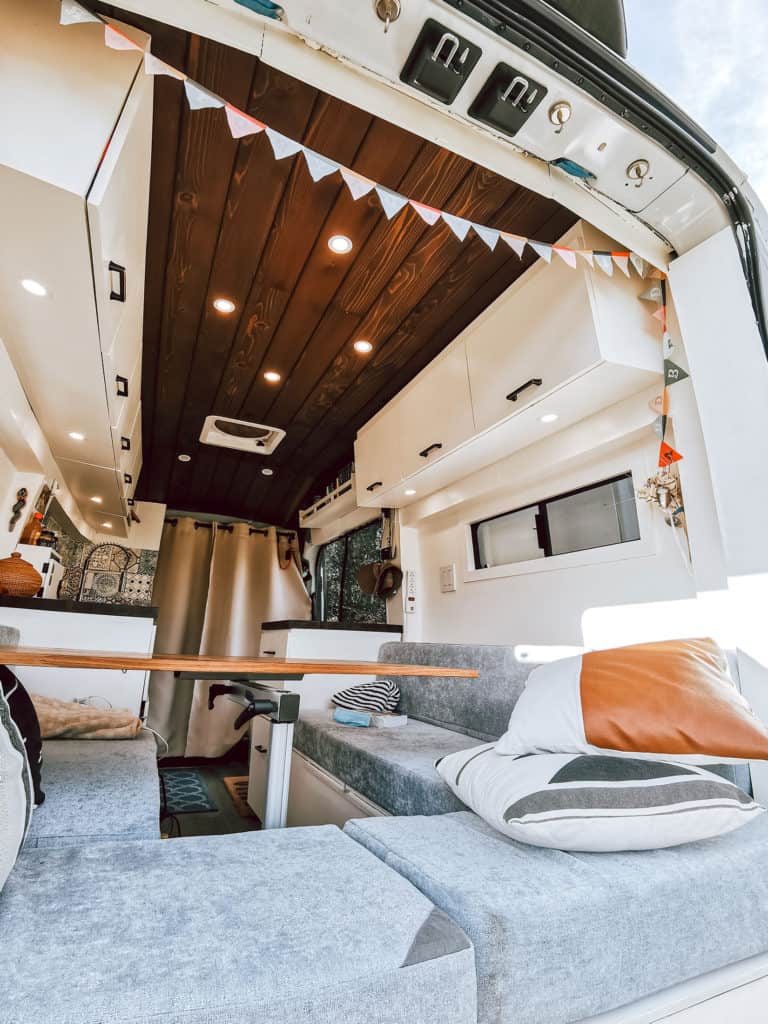
Each zone of lights operates on different switches so that we can turn each group of lights on and off independently of the others. This means that when we eat in the back half of our van in our “dining room,” we can turn off the lights in the front half to create a visual partition.
Want to create your own (to-scale) ceiling diagram? Read our post on creating your own digital camper van floor plan for free.
Light Source Types
When designing camper van lighting, there are three types of lights.
- Primary lights
- Task lights
- Accent lights
Primary Lights
Primary lights are a great way to light up the entire interior space of a camper van. We like these puck lights because they are easily installed into ceiling and plywood boards.
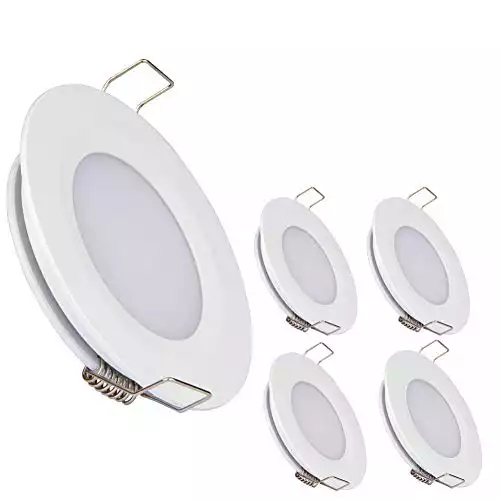
We use 12 of these 12V puck lights in our camper van. They fill the van with bright, warm white light and only consume 3W per device. Slim profile means they take up minimal ceiling space. Easy to wire to batteries.
Ready to Install? Read our step-by-step guide on how to connect your 12V LED lights to your batteries.
Task Lights
Task lights are used when you want only to illuminate small sections of your van. For example, when reading a book, using your computer, or washing dishes.
We installed these reading lights in the back of our van to use when we want to read in the evenings or to tone down the brightness of the van to get ready for bed.
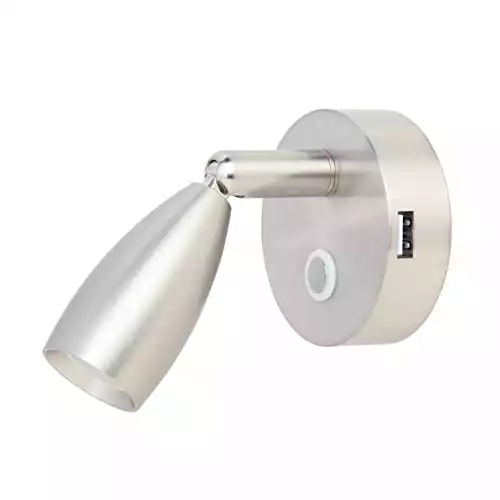
We installed two of these LED reading lights by our bedside. They're great at night for focusing direct light to a targeted location, like a book. There is also a USB port for charging your device at night.
Note: In our van, we also use puck lights as task lights (zones 2 and 4). We consider these task lights because they are installed underneath overhead cabinets (instead of in the ceiling); therefore, the light emitted is more focused and less broad.
Accent Lights
Accent lights can be used to increase the ambiance of interior space but are generally not as bright and focused as primary and task lights.
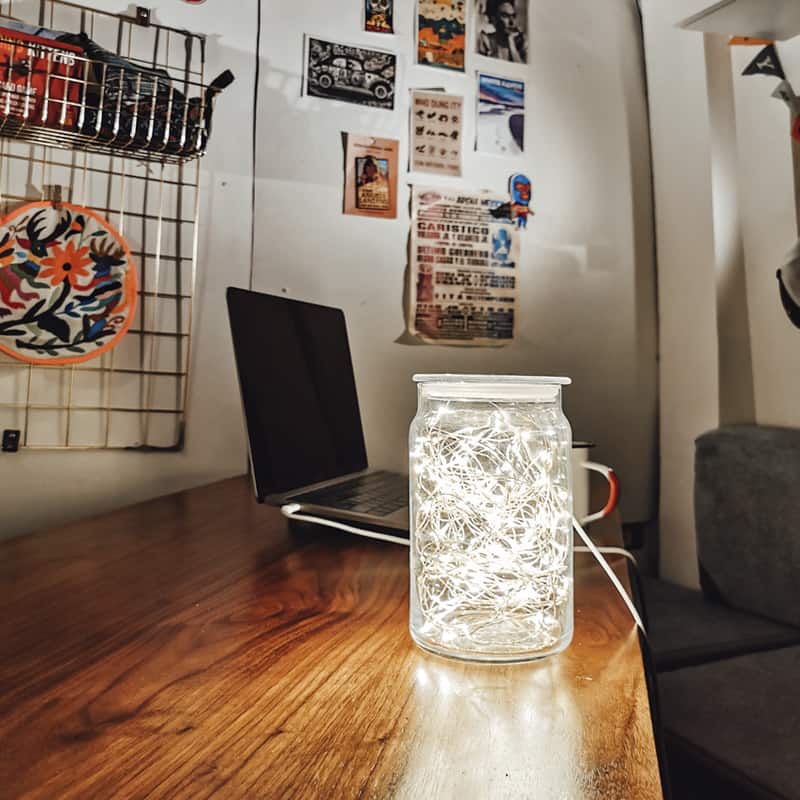
We love that we can instantly change the mood of our van interior simply by turning off all our ceiling puck lights and plugging our string lights into a USB outlet. The atmosphere and feel of our interior space change dramatically.
String and LED strip lights are two examples of accent lights commonly installed in van builds. The string lights that we recommend below are what we use in our van.
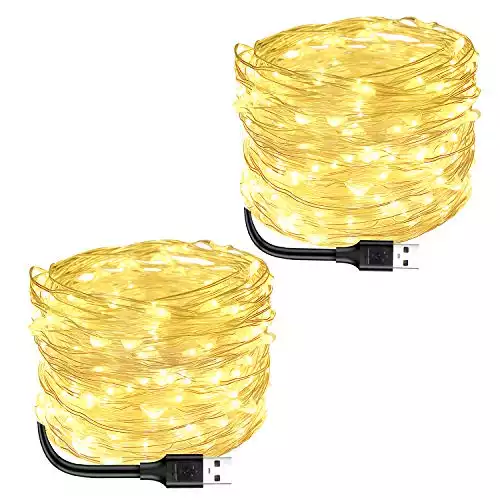
Both the string lights and the strip lights plug into USB ports. You will need to hardwire USB sockets to your batteries. We recommend the sockets below, which come with USB A, USB C, and a standard 12V charging port.
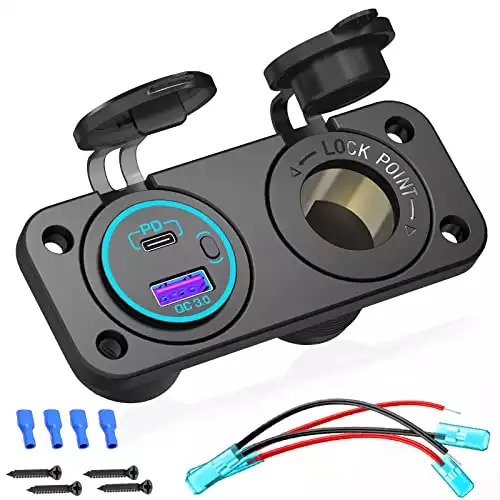
Great charging outlet that supports standard 12V ports and USB A & C. Suitable for all iPhones and Android models and 'Quick Charge' ready.
Light Bulb Color Temperature
Just like in a house, the color temperature of the light bulbs significantly affects the mood of a campervan’s interior. Here are two main light bulb color temperature options and their specific purposes.
Bright White
Blue-ish white tone color. It has a less cozy feeling and is used to keep your brain active and focused. Suitable for workspaces and schools.

Warm White
Soft, yellow light that is more suitable for home interiors than a professional setting. It is easier on the eyes and provides a more relaxed mood.
We chose warm white lights since most of our activities in our campervan involve house chores and lounging instead of working.
Lights with Dimmer Switches
Dimming your lights in a campervan is another way to adjust the ambiance and mood. If you want to be able to dim your lights, there are two essential things to remember.
- Make sure that the lights you select are dimmable.
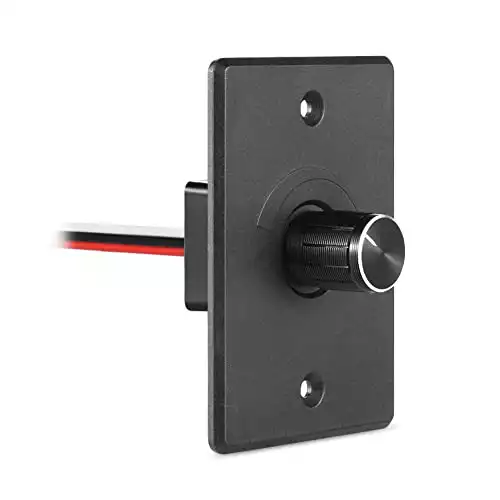
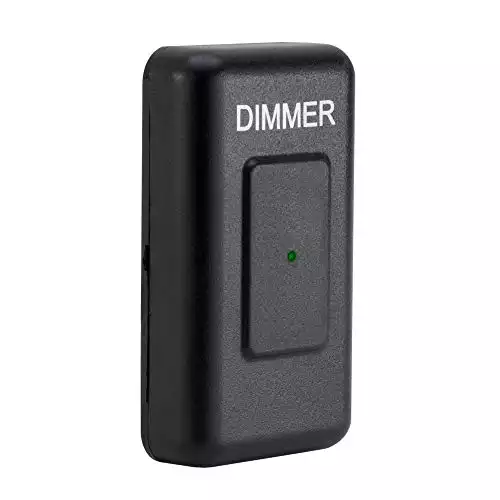
- If using 12V lights, you will need a 12V dimmer switch.
The puck lights that were recommended earlier in this article are dimmable. Below is a table of 12V dimmer switches compatible with these puck lights.

Was This Interior Design Article Helpful? We have other valuable posts to help you design your stunning camper van interior. Check out our interior design page to read more great content!
Final Thoughts: Choosing The Correct Campervan Lighting For Your Van Life
When choosing the best campervan lighting for your interior, thinking about purpose, colors, and layout is essential.
You want to consider your lifestyle and how you will utilize the interior van space. You can also look at the types and colors of lights in your current space to help you decide how you would like your van lighting to be.
If you have any questions about campervan lighting, comment below!
Happy building!

Van Conversion Essential Bundles
Every resource on our website is 100% free to download and use. We don’t charge you, and we don’t require your email address. Happy building!